Using Dingbats in PowerPoint 2010
PowerPoint lets you customize the bullet list icons and this can be very useful for presenters who want to display dingbat or custom icons instead of the default squared or circle bullet points. Recently we introduced a collection of free fonts that you can download and install with dingbats so now we will show you how we can use Dingbats in PowerPoint 2010 and 2013 to change the way lists are displayed.
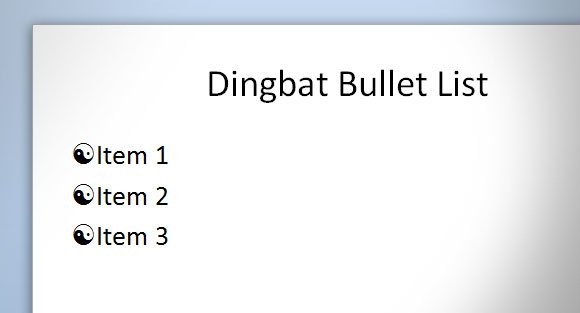
To change it, you first need to select the text in the list and then right click to open Bullets sub menu. Then click on Bullets and Numbers to customize the bullet list icon.
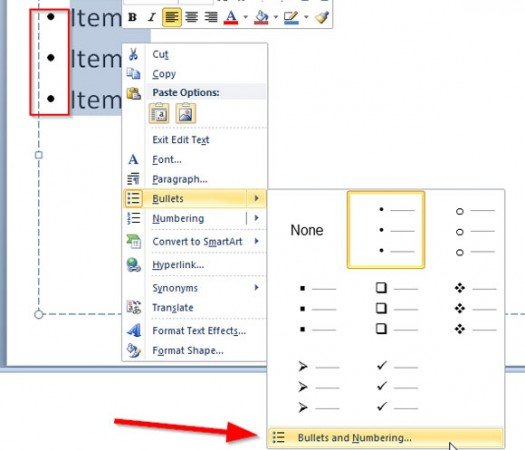
Now you can change the font used as bullet icon. Make sure to click on Customize button and then choose Wingdings font or any other dingbat font that you have installed in your computer. If you want to download free dingbat for PowerPoint then you can refer to the previous article we introduced earlier.
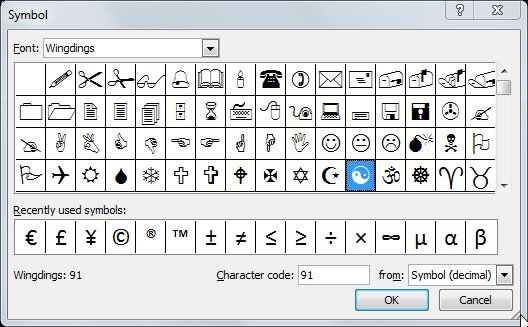
Now, you need to accept the changes and that’s all.
Changing 1 bullet list icon only
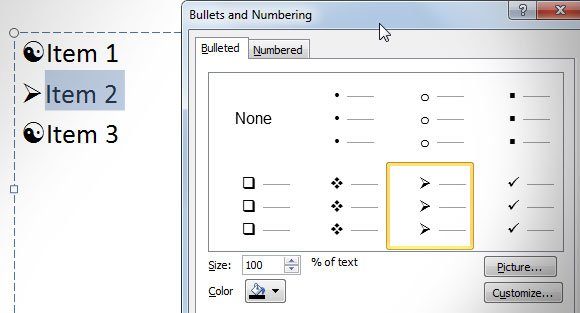
Additionally, if you want to change only one dingbat or bullet icon then you need to select only the item you want to change and follow the same steps. In this example below we have changed a different icon for Item 2 only.
Applying the bullet list change to all slides
If you want to keep the same changes and apply the bullet list icons to all the slides, then you can do it by changing the template in the Master View. This can be very useful for templates to be used for businesses for example if you need to follow the company visual guidelines.
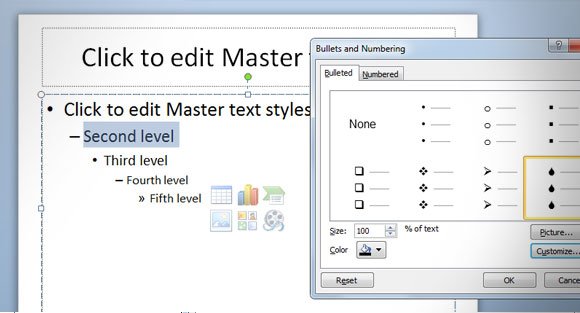
In order to change the bullet list format in the template, you need to click on View and then Slide Master. Then choose the layout where you want to apply the changes or the master slide to apply it globally. Notice that you can apply different bullet list format for each different level in the list. This can be also helpful if you want to use a different icon depending on the list level. In the example above we have used a drop icon from the default dingbat fonts in Windows.
Last but not least important, if you want to use pictures instead of icons then you can also do it. Just need to select the photo or picture to be used by clicking Picture and then confirm. However, notice that it is recommended to reduce the size of the picture or prepare special small pictures to be used in this way, otherwise your final .ppt file may increase in size.
