Make a Timeline in PowerPoint using Adobe Presenter 8
Adobe Presenter comes with an Interactions menu that allows us to insert rich diagrams including animated charts and graphics, but also nice timelines for PowerPoint. Using Interactions Timelines you can make a simple but descriptive timeline in PowerPoint for your milestones and events.
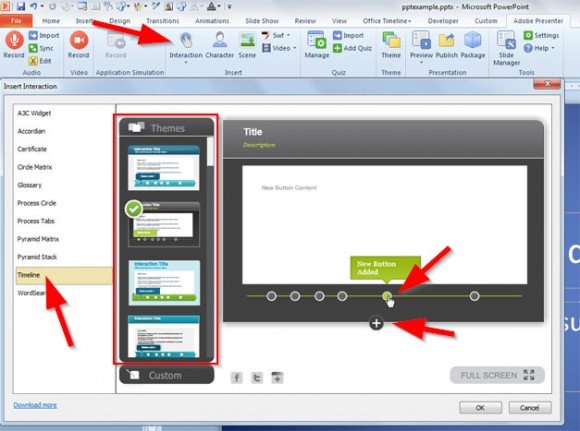
In order to insert a timeline in PowerPoint you will need to click on Adobe Presenter menu and then click on Interactions under Insert section.

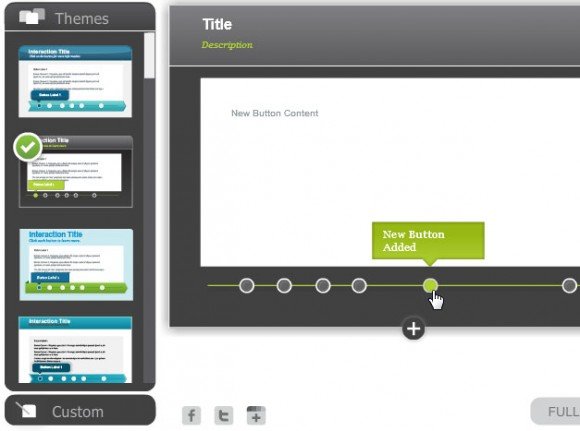
Then, choose Timelines tab and here you can configure your presentation timeline for PowerPoint. You can choose the theme from the left side pane or create a custom theme which lets you change the color and font type.

Then you can add events to the timeline and configure the event details. For each event you can add audio or video.
You can drag the events along the time line in order to change the event position.

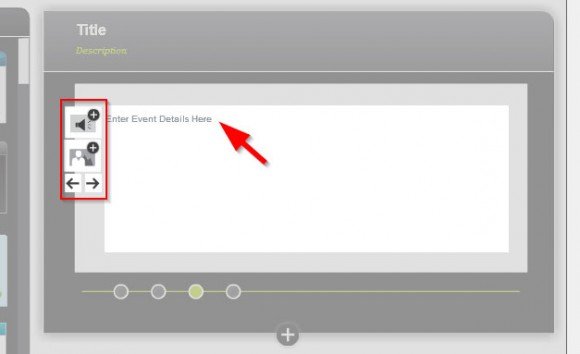
For each event detail, double click on the event dot to enter the edit mode. Here you can choose the audio or insert a picture for the event timeline.

Finally, click OK to generate your timeline. This feature is nice however you can’t edit the timeline you just created so you will re-create it again if you need to apply changes. For this reason, there is another great plugin named Office Timeline that can be really helpful to create and edit timelines in PowerPoint easily.
