How To Set Automatic Formatting For Words And Phrases in Word
Last updated on April 29th, 2024
Microsoft Word has been around for years. In fact, it’s one of the most used and trusted applications for word processing. Through the years, it has managed to keep up with the times–with technology, as well as what people need. Word offers an intuitive interface, as well as a richer, robust, and user-friendly feature that makes life and work easier. One of these features is formatting, which Word has a rich set of options that newbies can appreciate and experts can’t get enough of. Aside from the basics, which include applying a variety of text styles to documents, Word still retains its set of handy keyboard shortcuts to make formatting a breeze. Let’s take a look at how to set automatic text formatting for words and phrases in Word.
Manual Formatting Hassles
When it comes to formatting, things can get pretty tedious and repetitive even in Word, that is, if you don’t know the workaround to it. This is because formatting can be extensive, time-consuming, and meticulous work when done manually. This is true especially when it comes to editing large chunks of text or comprehensive documents, from technical papers to novels. You have to go through every paragraph and page, thoroughly looking at any deviation in your set format. Not doing this can result in a disjointed looking presentation.
This is exactly why Word has come out with automatic formatting features that take out the hassle off the equation.

Auto-Formatting Features in Word
With manual formatting, you have to go over each instance of formatting change to apply what needs to be done. This can take hours and even days for very extensive documents such as white papers and technical literature. And then, another whole set of changes may require you to do everything all over again.
With Word’s Auto-Formatting feature, called AutoCorrect, you can set your auto formats so that you don’t have to do everything. For example, you can auto-format underline, italics, or bold type on a particular word or phrase so that each time you type it in, Microsoft Word will automatically do it for you. If you want to change this auto-format later on, you can still do so and the changes will automatically apply.
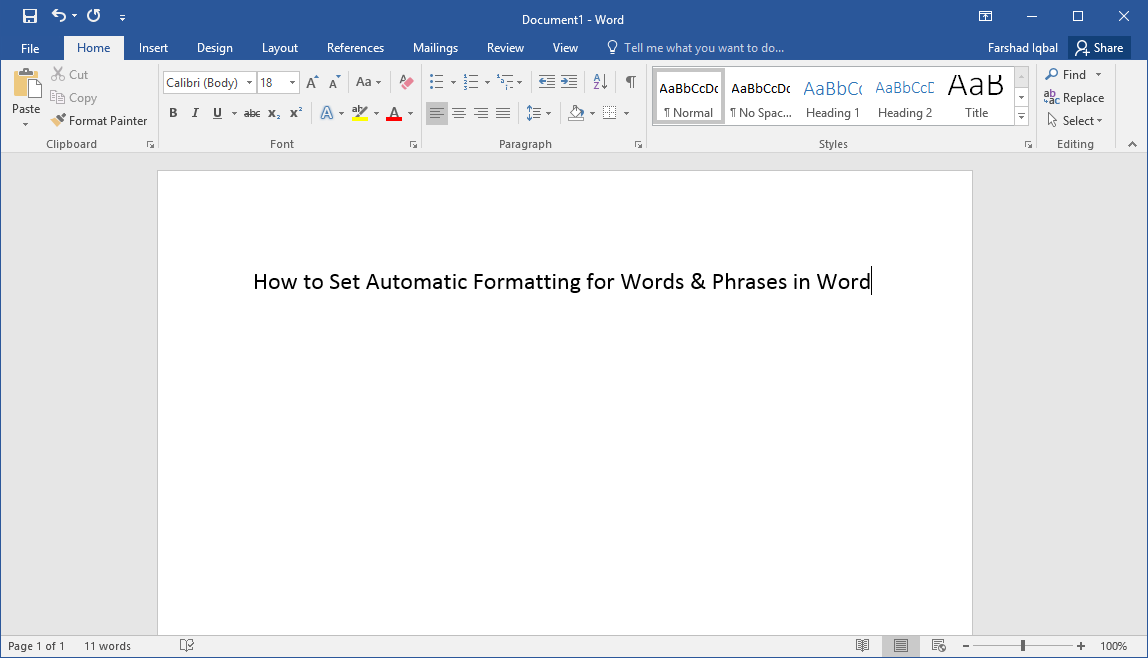
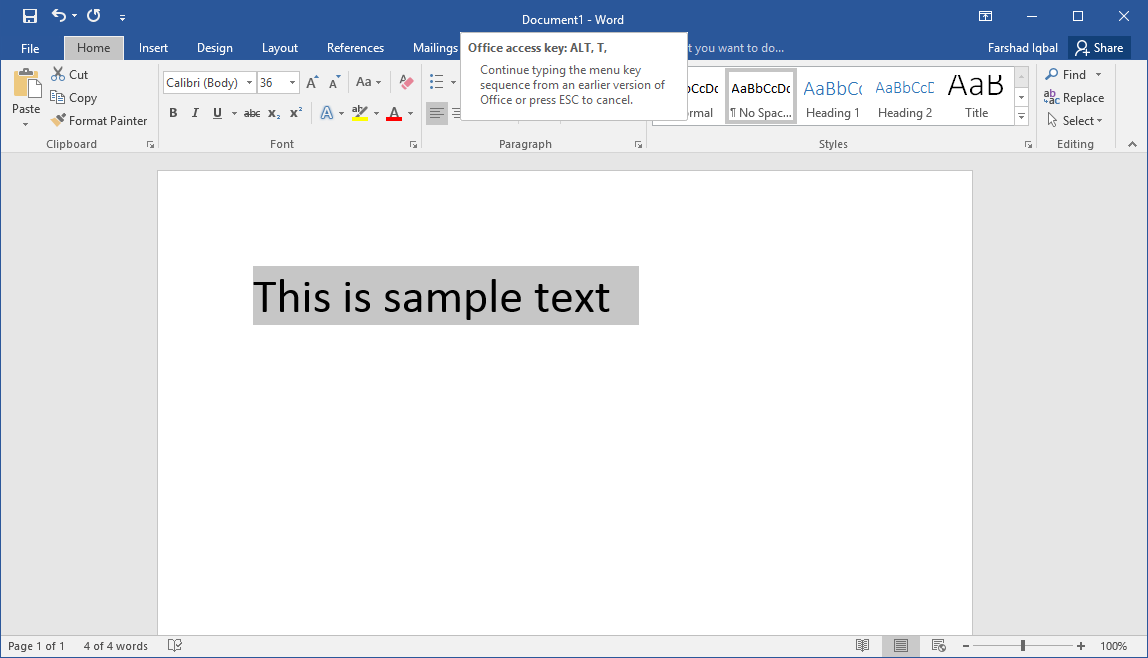
To do this, all you have to do is to type a word or phrase to be auto-formatted. Once done, format it the way you like it: bold, italic, smaller or bigger font size, different font face, different color, or whatever you want. Then, select the text and press the keyboard shortcut: Alt+T. With this, a small window will populate, after which you should tap the A key.
So, for example, how to automatically italicize certain words in Word? You can use the approach described to make certain words like “et al” italic all the times you write it, instead of the need of pressing CTRL-I to make it italic.

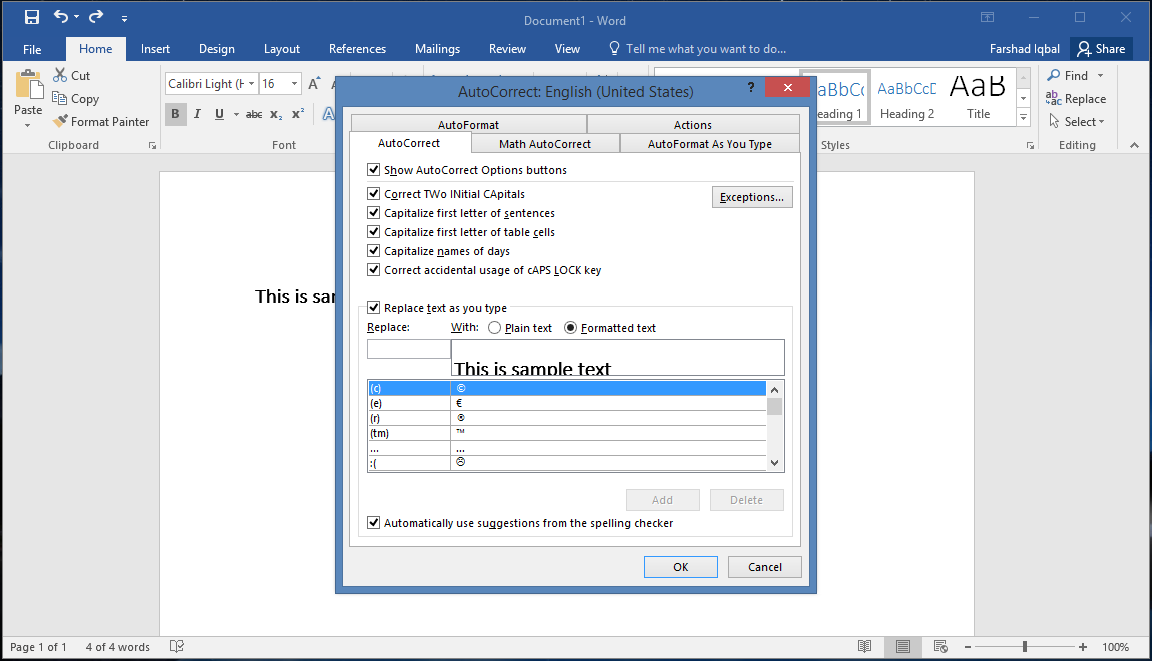
Here, the AutoCorrect window will open. Go to this tab. In the “Replace text as you type” section, select “Formatted text.” In the “Replace” box, enter the word or phrase you want to auto-format. Just remember that the word/phrase is case sensitive. When you’re done, simply click “Add” and then “Ok”.

Now, you can enjoy the convenience of having a word or phrase be defined with your specific formatting, thanks to AutoCorrect. This will apply to all your documents, so if you need a differently formatted document, remove your previous entries from autocorrect when you’re done.
