How to Select Hidden Shapes in PowerPoint with Selection Pane
Last updated on April 29th, 2024
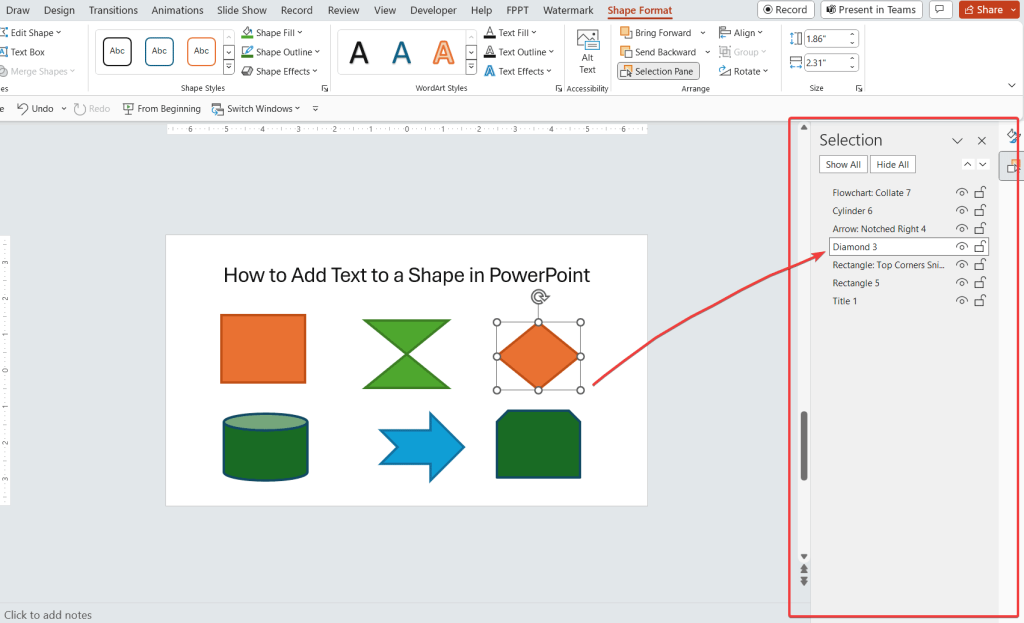
The Selection pane in PowerPoint (also known as Selection and Visibility in previous versions of PowerPoint) is a pane that we can display on the right of PowerPoint editor and have some interesting and very useful features that we can use to work with shapes in PowerPoint.
This pane can let us see what shapes are being used in the slide and reorder the shapes or hide certain shapes. Also we can rename the shapes in the slide which is convenient if we are dealing with VBA code or C# code and Interop Office libraries.

In some situations we need to select shapes that are overlapped with other shapes in the screen. We can use the keystroke TAB to switch the current selected shape in the screen but if we have lots of shapes then it can be really time expensive and we will need to continue using TAB until reaching the desired shape.

Instead, it is better to use the Selection Pane in PowerPoint.

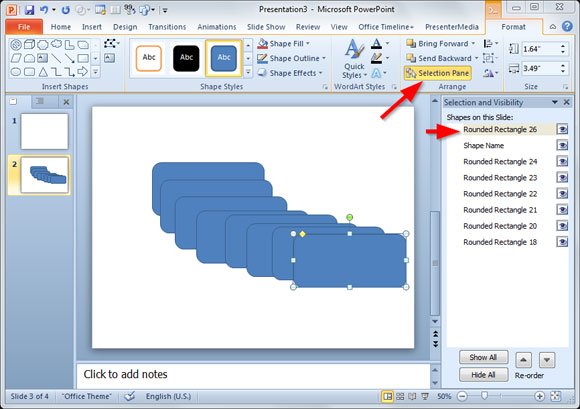
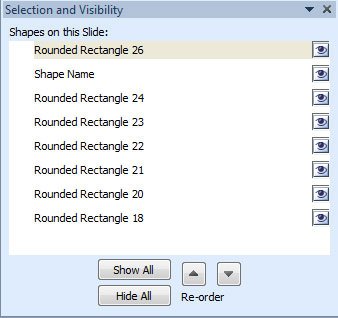
You can open the selection pane by going to Format and then Selection Pane button as show in the image above. As you can see, once the Selection and Visibility pane we can do the following tasks:
- Show All or Hide All shapes in the PowerPoint slide
- Reorder shapes
- Change the shape name
- Show or Hide individual shapes
Select Hidden Shapes with Selection and Visibility Pane can be useful if we need to work with shapes in bulk mode or reorder the shapes in the slide.
