How to Use Microsoft Planner for Office 365
Last updated on May 4th, 2024
Office 365 users can collaborate real-time using a number of tools provided within the suite. One of these is the Microsoft Planner. Using Microsoft Planner, you can add new plans, assign tasks to subordinates, check the schedule for assigned tasks and ensure you are able to plan, chat with colleagues, share files and execute tasks with your team from anywhere.
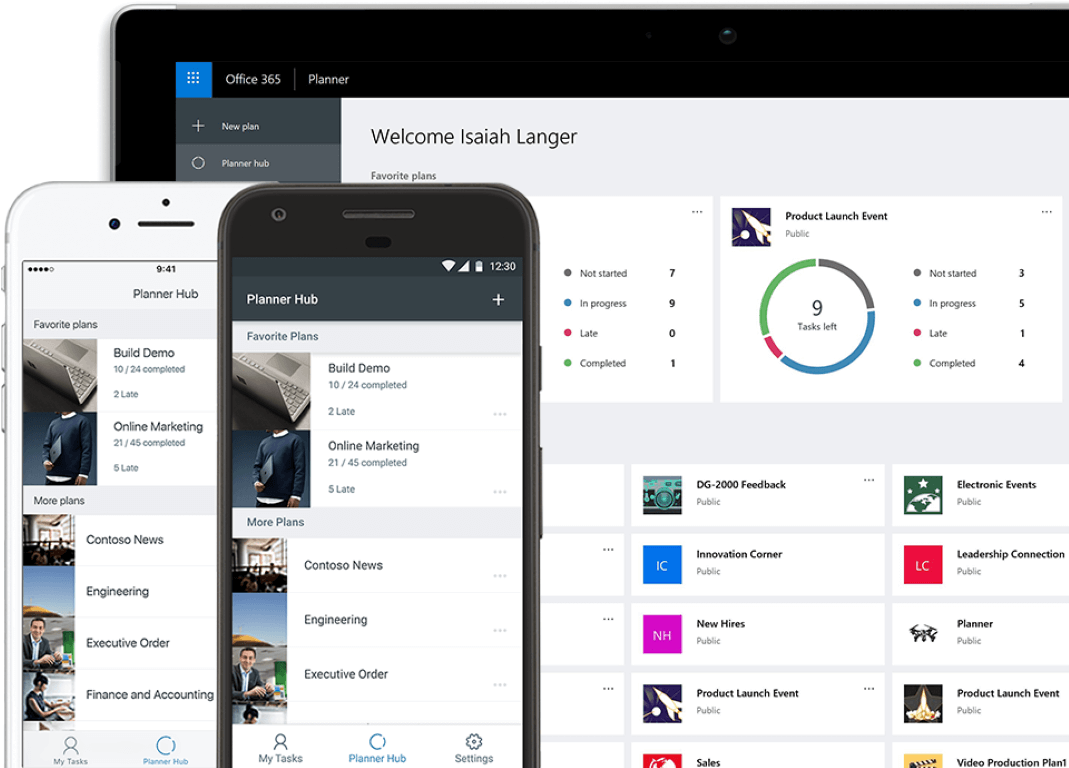
Getting Started with Microsoft Planner
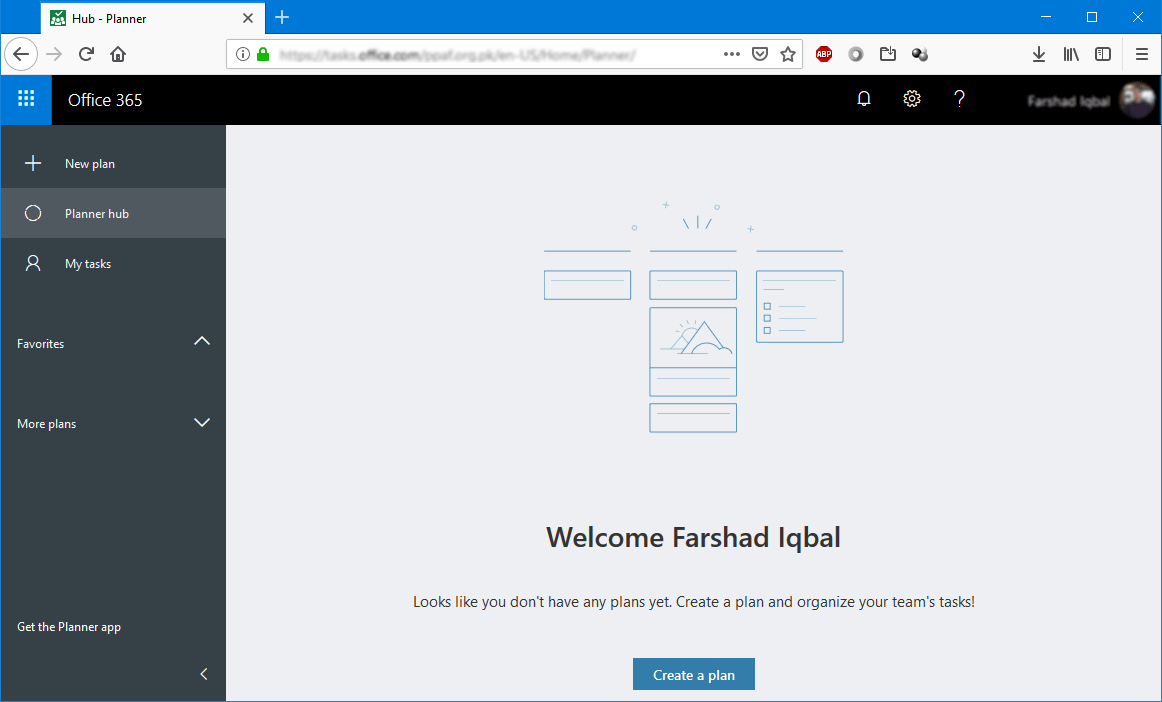
Once you login to the Microsoft Planner via tasks.office.com or from the app launcher on your device, you can begin adding new plans. Click Create a Plan to proceed further.
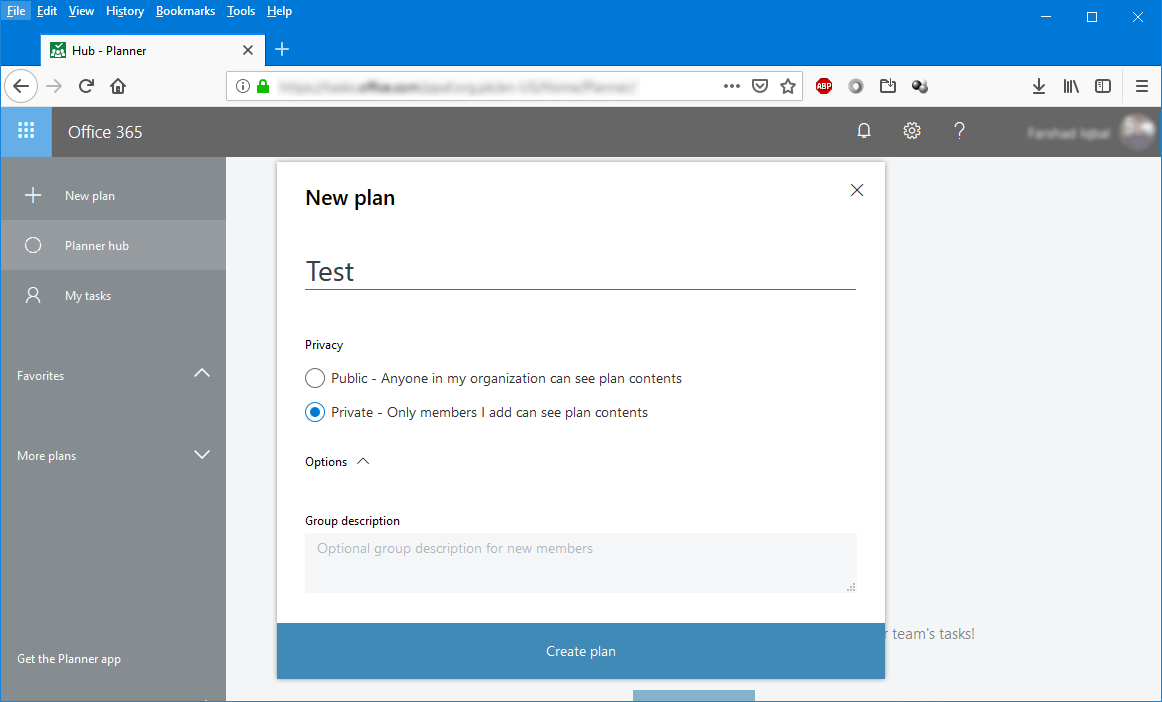
Create Public or Private Plans
The plans you create can be either kept Public, so that anyone in the organization can see them or you can choose to share them only with selected individuals by opting for Private plans. Each plan comes with its very own board and buckets to help you organize your tasks as per need.
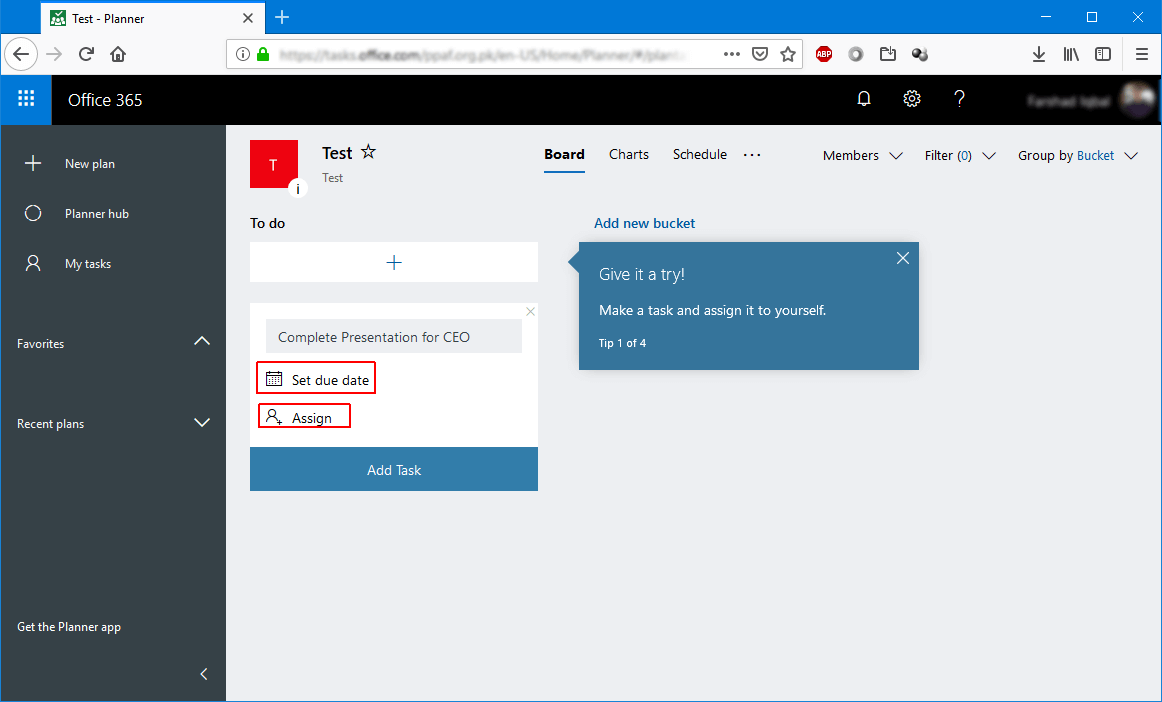
Assign Tasks with Due Dates
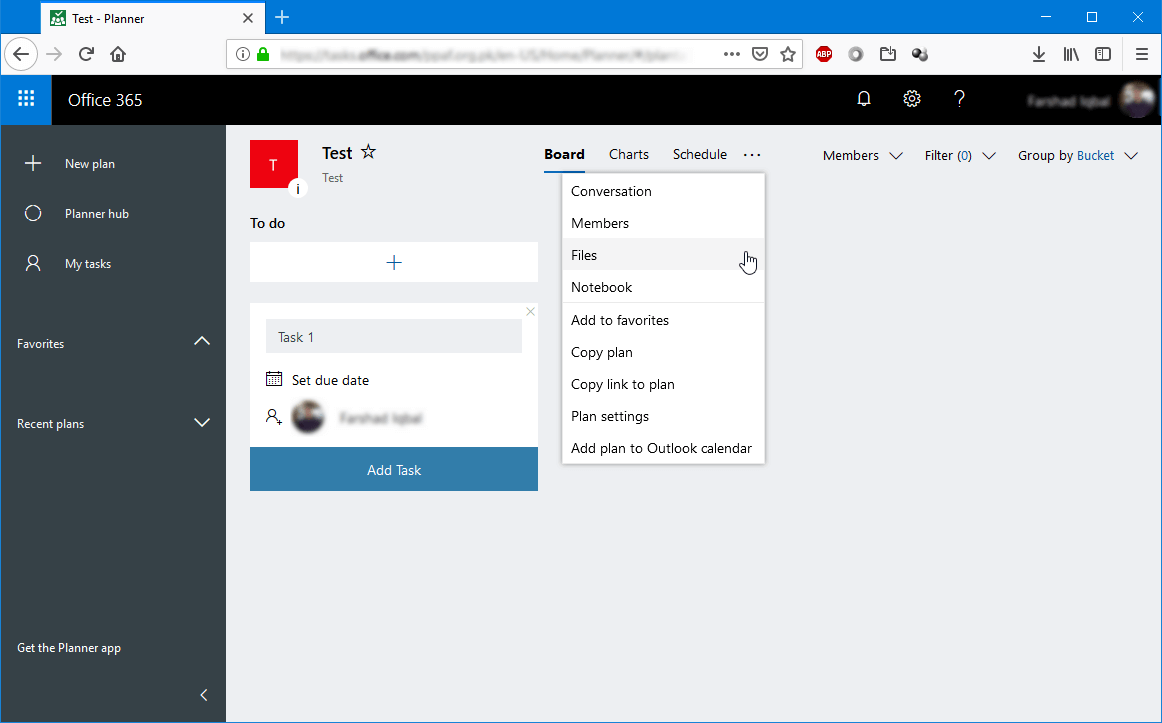
Once a plan is created, you can begin adding new tasks and assign them to your colleagues, set due dates, and check progress for assigned tasks. You can view the progress for all tasks in the Charts section which shows a ratio of complete and pending tasks.
You can also attach files with your tasks, which makes file sharing a snap. Furthermore, tasks can also be labeled using various colors. You can view all your current tasks and their status via My Tasks section. Similarly, the Planner Hub shows a list of all your plans in one place.
Microsoft Planner for Office 365 is a good productivity app which provides online collaboration and task management features similar to what many project management apps offer. This, coupled with the power of the Microsoft Office suite including PowerPoint, Word, Excel Outlook, OneNote, and SharePoint make Microsoft Planner all the more useful for effectively planning, assigning, monitoring and executing tasks anytime, from anywhere.
