How to Optimize an Animated GIF
Last updated on April 11th, 2025
We have previously covered a number of GIF animations for PowerPoint presentations. We also showed methods for creating GIF animations from presentations and to record screencasts in GIF format. However, GIF animations can be quite heavy and might take a lot of time to load in a presentation or on a webpage. There are a number of ways for reducing the size of such animations. In this post we will explain the various methods to teach you how to optimize animated GIF to make it suitable for your digital content.
Tips to Optimize Animated GIF
To optimize a Graphics Interchange Format (GIF) animation, you should consider a few basic options which can help you reduce the size of your animation or optimize it for use without compromising on the required quality for your project, presentation, website or on social media or in a marketing email.
1. Manage GIF Colors
Reducing the color palette for your GIF can be a great way of optimizing its size and keeping it manageable. Using 2-3 colors can be a good option, with colors that are lighter, yet legible. If it suits your needs, you can even opt for a black and white GIF animation.
Note: There are a number of image and video editing tools like Gimp, Adobe PhotoShop, CamtasiaStudio and GIF Maker, which can help you create and manage GIF animations. You can see different recommended tools for optimizing GIFs in the next section.
2. Limit GIF Resolution
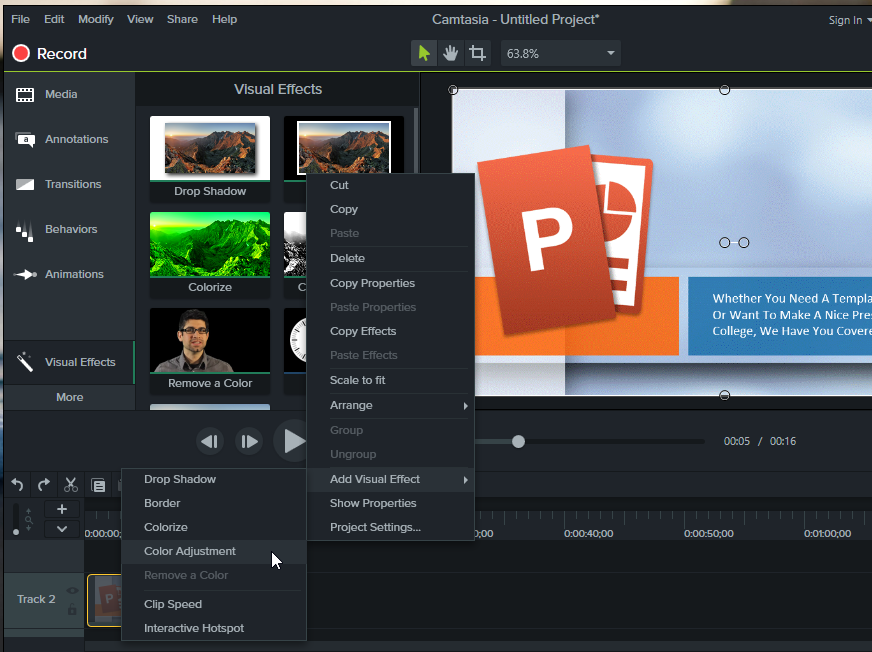
If you create GIFs in a very large resolution, they are likely to pixelate and become too heavy to load. Many times, GIF animations are kept small in resolution. You should avoid using videos over 720p in resolution to avoid creating GIFs that are unmanageable. When creating your GIFs you don’t need to use HD resolution, you can also create GIFs in lower resolutions such as 240p or 480p to limit its size. You can use a number of video editors or online tools like ILoveIMG to edit the resolution of your GIF.
3. Use Overlays and Simple Objects
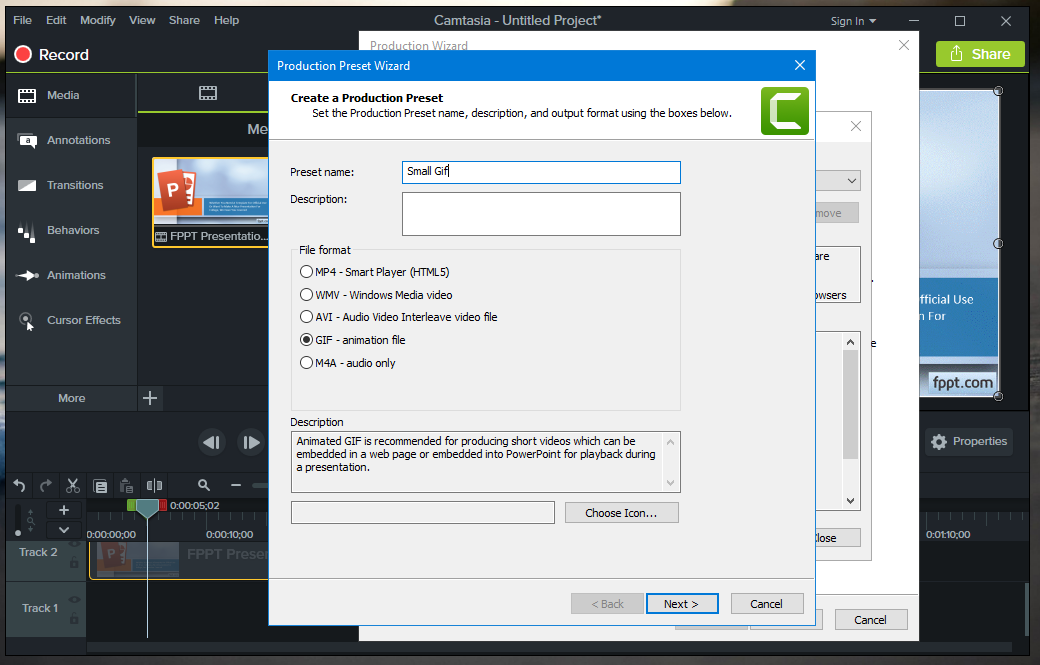
Using illustrations instead of photos or objects that are simple, such as shapes, can help limit the size of your GIF. You can also use overlay shapes in your images to cut out heavy sections of the GIF animation or to replace them with solid objects with your own text. If you’re making a GIF using PowerPoint, you can use PowerPoint shapes.
4. Trim Unnecessary Sections
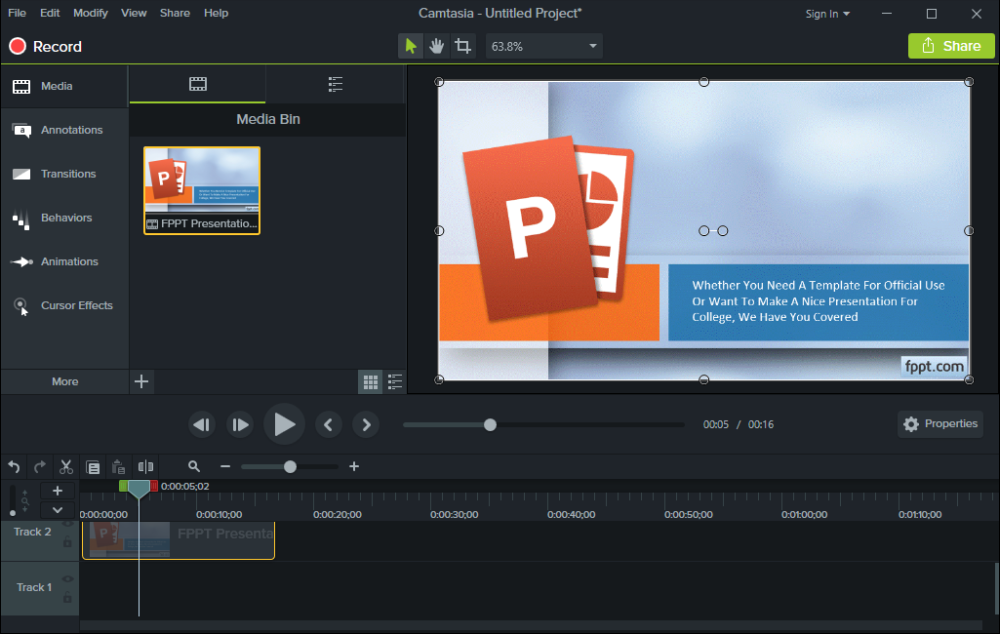
Using a video editing tool or GIF optimizer, you can trim your GIFs to reduce their length in order to keep them at a manageable size. You can also remove redundant frames in order to keep only the bits that best suit your requirements. For example, if a character is walking and then jumps, you can remove a few bits where he walks to minimize the time for that part of the GIF and focus on the part that you’re trying to showcase; in this case the jump.
5. Limit Layers to 2-4 Frames
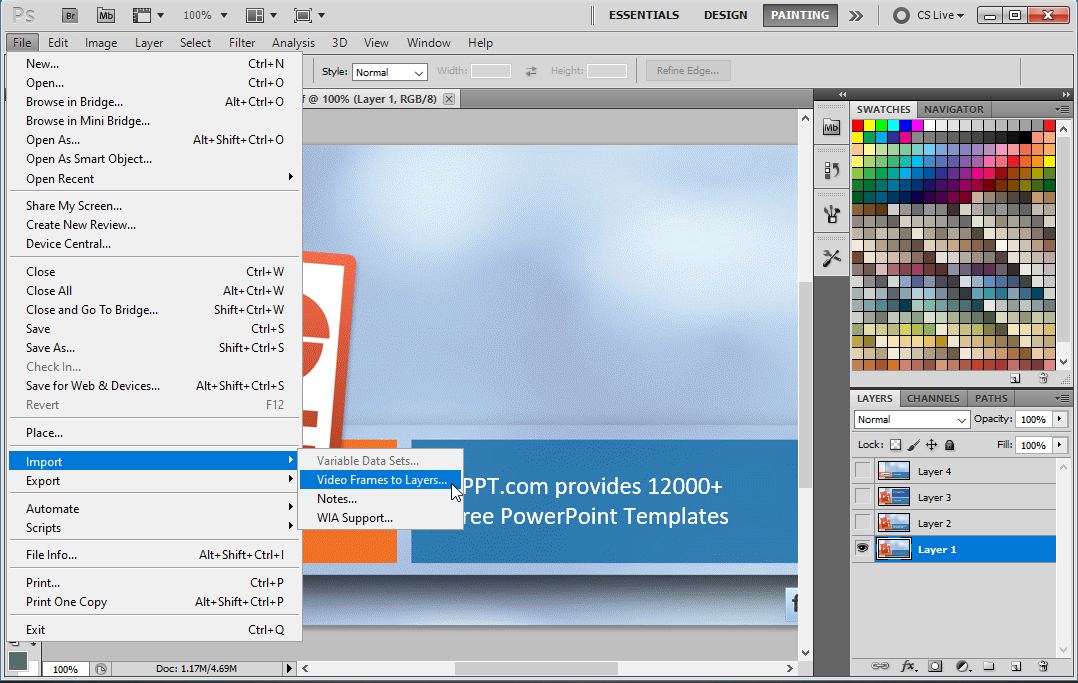
You can optimize your GIF by limiting layers. To do this you can import frames to layers using PhotoShop via File > Import > Video Frames to Layers. You can limit the layers to every 2 or 4 frames. If you don’t have PhotoShop or your version does not support this option, you can look at other tools for this purpose, such as GIFsGIFs (mentioned in the section below).
6. Create Animated GIF in PowerPoint
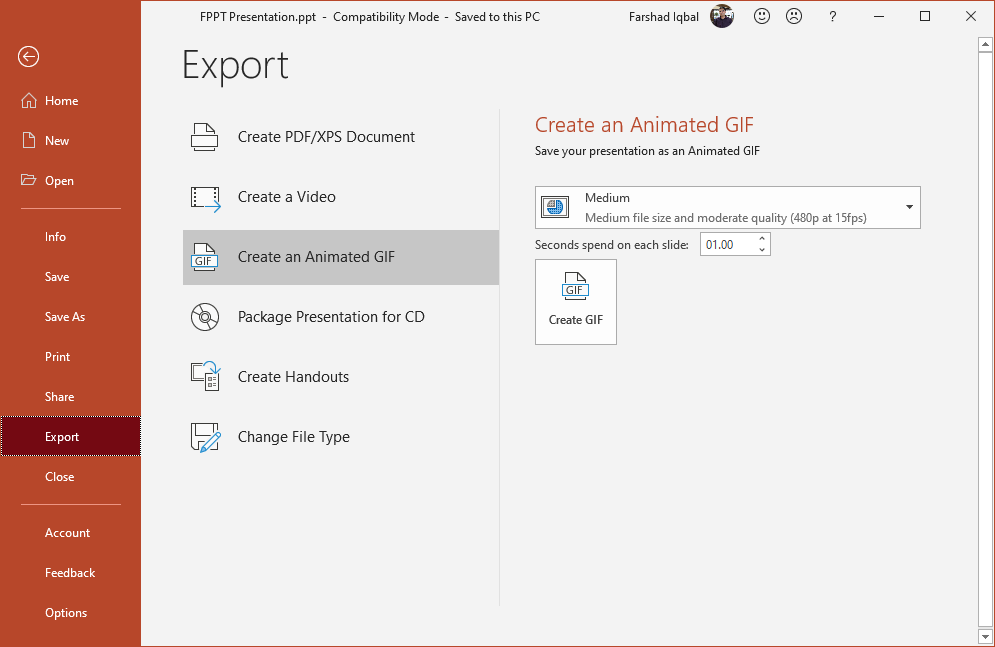
You can create an animated GIF using PowerPoint with the option to create a small, medium size, large or extra-large GIF. You can find this option in PowerPoint 365 via File -> Export -> Create an Animated GIF. The available resolutions include Small (240p with 15fps), Medium (480p with 15fps), Large (720p with 24fps) and Extra Large (1080p with 24fps).
Tools to Optimize GIF Animations
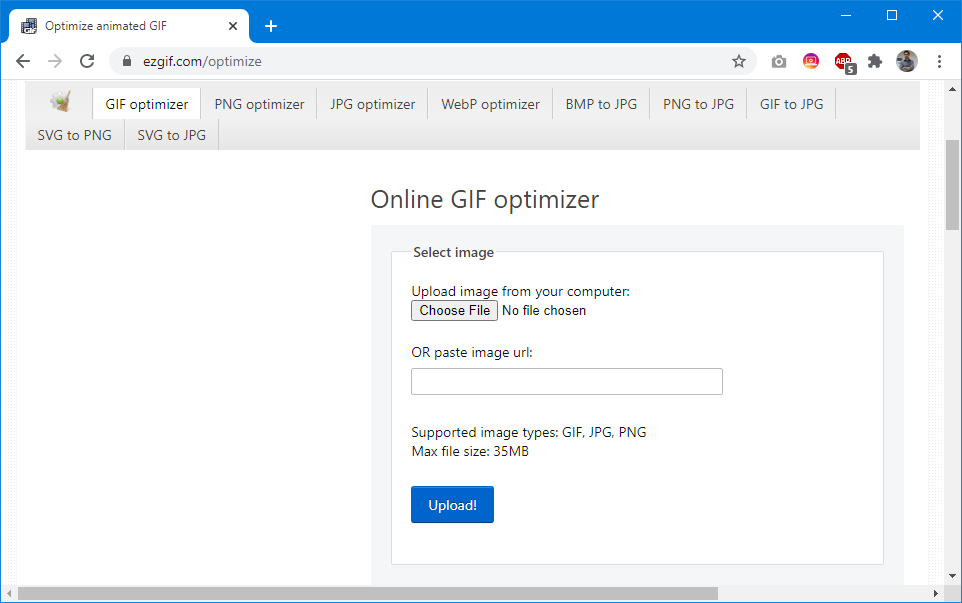
1. EZGIF Online GIF Optimizer
EZGIF is a GIF optimization tool which provides various handy options to help you optimize your animations. You can upload or enter a URL of a GIF for optimization or use the splitter to split your animation. EZGIF can also be used for creating GIF animations using different types of image files.
2. GIF Compressor
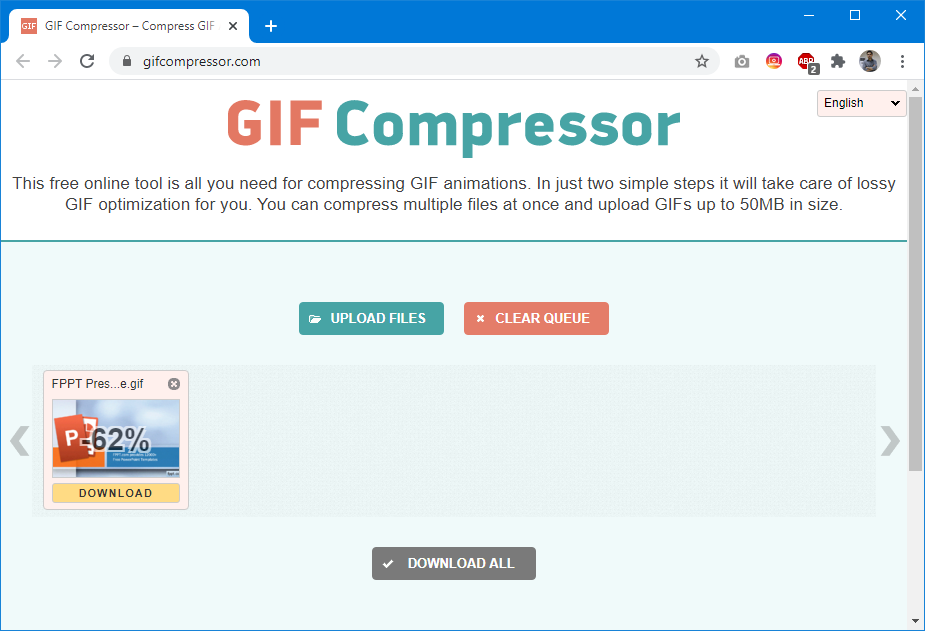
As the name suggests, GIF Compressor is a tool for compressing GIF animations. You can upload your file to the tool and let it compress the size of your animation automatically. The tool also provides conversion from GIF to MP4 and PNG, as well as allows creating GIF animations from PNGs.
3. I Love IMG
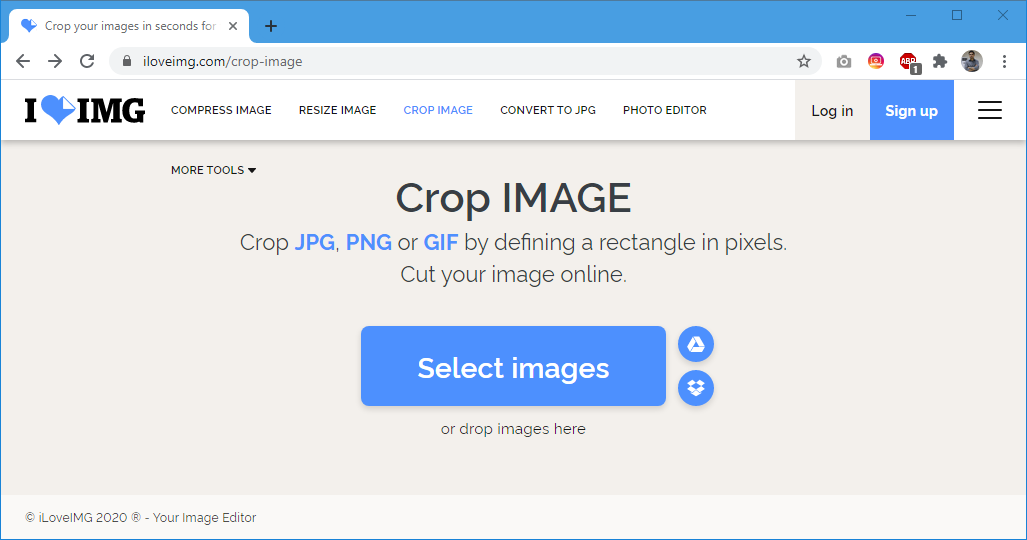
ILoveIMG is an online tool which enables you to compress, crop, resize and convert your GIF animations. If you are looking for a tool which can help you perform the different functions we have mentioned in our tips section above, you can use this simple web app to make your job easy.
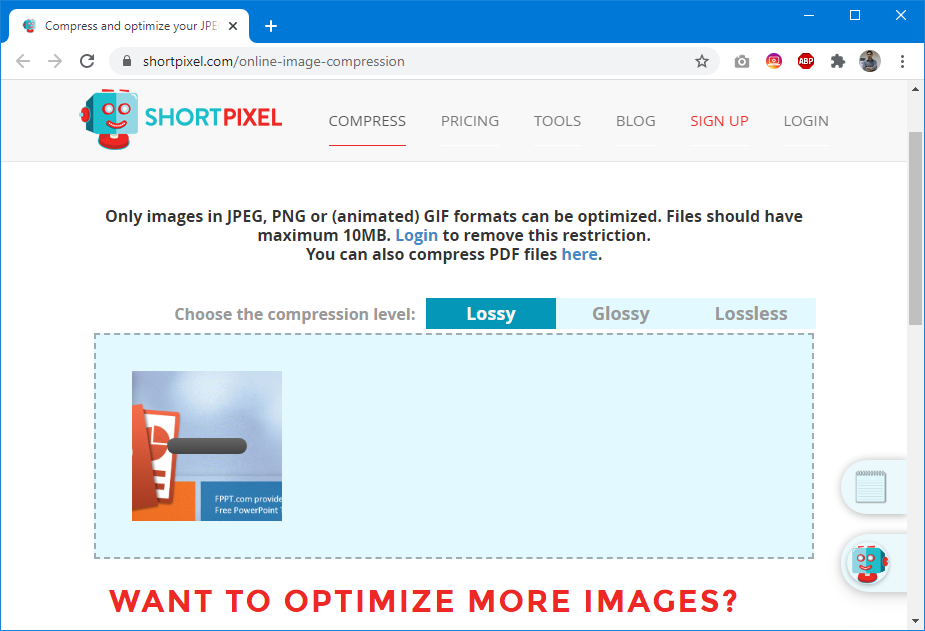
4. ShortPixel
ShortPixel is a simple tool for optimizing GIF, JPEG and PNG files. It provides three optimization options including, lossy, glossy and lossless.
5. GIFsGIFs
GIFsGIFs is another very handy optimization tool for GIF animations. You can use the dropdown menu to pick from a wide range of optimization options for your animations including color reduction, frame removal and optimization by making the GIF lossy.
Related Article: Learn how to put a GIF in a PowerPoint animation
Final Words
GIF animations can help engage your audience, be it in a PowerPoint presentation, on a website, in a social media post, marketing email or a slideshow running in your store. However, managing and optimizing your GIF animation can help you avoid lags, delay in loading time and enable you to smoothly present your message with the power of GIFs. The tips and tools mentioned above should be sufficient for you to be able to optimize your GIF animations for optimum use.
