How to Make a Wooded Frame in PowerPoint 2010
If you need to make a simple but useful frame for PowoerPoint presentations with a wood template style then you can use shapes and textures. Here we will show you how to Make a Wooded Frame in PowerPoint 2010.
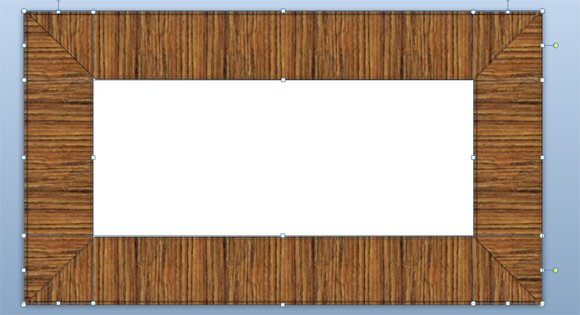
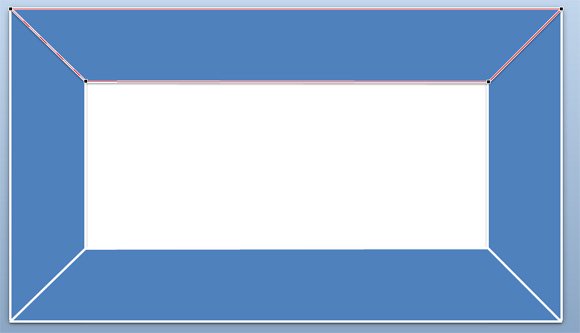
You can easily start creating a widescreen template to be used as a frame in PowerPoint. We will add a rectangular shape and then edit the points to make it look like pieces of wood. As you can see below, we have changed the points for the top and bottom shapes to make it look a s a frame border with the diagonal side. It is like a trapezoidal shape so you can safely use a trapezoid shape in PowerPoint instead of the rectangle if you want to avoid editing points.
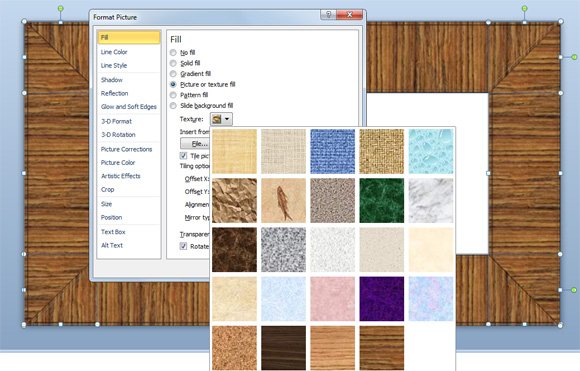
Then, make sure to fill the shapes using a texture fill. Select the shapes and then right click to choose the Format Picture options. Look for Fill tab and then select Picture or texture fill. Make sure to check the Rotate with shape option since we will use the same formatting for the vertical shapes. From here, you can choose many different wooden templates and textures for your presentation, including paper bag, medium wood, walnut style, brown marble or cork.
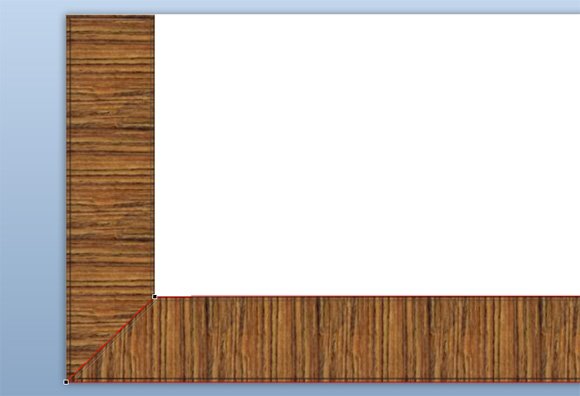
The corner will look as follows. As you can see, we have duplicated the horizontal shape and put it in vertical. You can repeat this for the two vertical shapes. Also, it is recommended to send it to back so you don’t need to convert the shapes to a trapezoid.
Finally, you can apply some 3D and shadow effects. Or you can make other variants with custom textures and patterns. For example, we have used a pattern style to make the following frame PowerPoint template.

Other creative ideas for frames include flower frames, metal frame PowerPoint template as well as other tile border styles for PowerPoint presentations.
Wood PowerPoint Template (846 downloads )