How to Draw a Curved Arrow in PowerPoint with Shapes
Last updated on November 25th, 2024
Once upon a time you need to create circular arrows for your presentation slides. In PowerPoint, you can create this kind of curved and circular arrows by using different approaches. One method to create a curved arrow is using a normal arrow style or big arrow shape in PowerPoint and then edit the points to make it curved. You can make curved arrows in PowerPoint by editing the shape points.
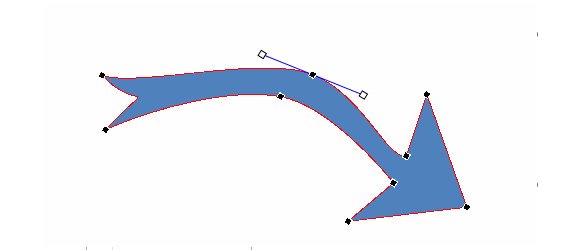
For example, you can start from the following arrow and then right click to Edit Points.

Then, you can add more points and right click to change to smooth type and start modifying the edge of the arrow until making it curve.

For example, you can get this kind of arrow after several edits.

Draw a Curved Arrow in PowerPoint using two shapes and Union Operation
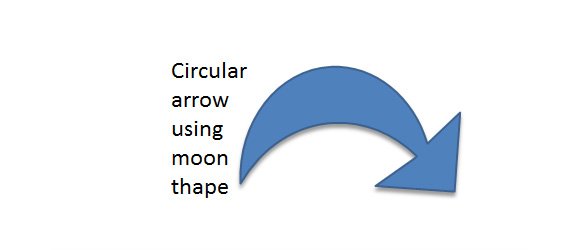
Another way to draw a curved arrow is using two shapes. For example, you can use the normal straight arrow shape and then a moon shape in PowerPoint 2010.

For the straight arrow, edit the points and delete all the points except those for the arrow header. So you will keep only the arrow header and join it with another shape. In this case we will add a secondary shape, the moon shape and rotate it to match the desired degree. Then, you can use the Union shape operation to join both. This will enable PowerPoint to create custom shapes.

Finally you can add some shape effects like the shadow or bevel to make it more real.
