How To Disable Mini Toolbar in Office 2013
MS Office is one of the most widely used tools to create well-formatted documents of various kinds. Not only does it provide the users with an effective way to create and edit text rich documents, but also provides them with an editor that helps in checking the errors that they might have made in the same document.
One feature that usually makes users go nuts is the Mini Toolbar. Although there are a vast base of users that are completely smitten by the convenience that the tool provides, but, then there are those who do not really enjoy the company of the Mini toolbar, every time they select a part of the text present in the document.
In the 2013 version of the Office Suite this feature still holds strong, and if you belong to the lot that completely and utterly despises the Office Mini toolbar, then this tip is definitely for you.

What is the Mini Toolbar?
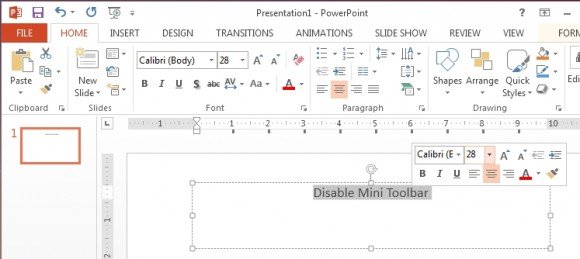
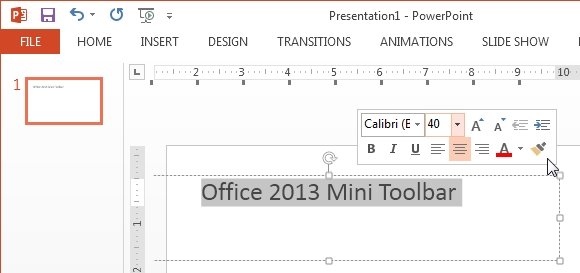
The mini toolbar is nothing but a popup based tool that comes along with MS Word and allows easy text formatting while you select it. As soon as you select text in the document, the toolbar presents itself right next to the cursor. It contains various text formatting and styling options, like the font type, size, indent, alignment and is somewhat a handy version of the toolbar that has been provided on top of the document.

How to Disable Mini Toolbar in Office 2013
For MS Office 2013 the toolbar can easily be disabled by following these steps:
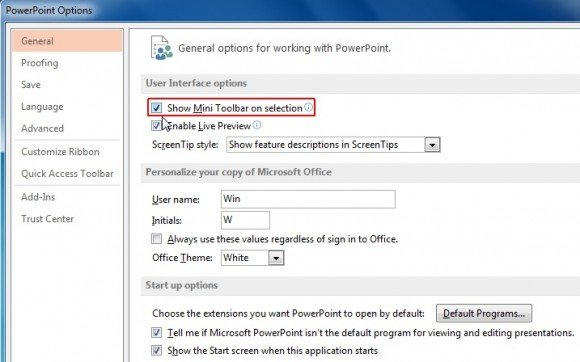
Step 1: Go to File menu and click to open the list of Options, if you are using an older version of the Office Suite you need to click on the office icon on the top left corner.
Step 2: After clicking Options you would find a check box that has been automatically checked. The content besides the box reads ‘Show Mini Toolbar on Selection’.
Step 3: Disable the check box, and the mini toolbar would not be displayed anymore. The same can be done for other components of the Suite.

