How to Create Rounded Corners for Images in PowerPoint
Last updated on December 16th, 2024
Adding rounded corners to images in PowerPoint can instantly elevate the visual appeal of your slides, giving them a sleek and modern look. This simple design tweak can make your presentations more engaging and professional. Here’s a quick guide to help you achieve this effect.
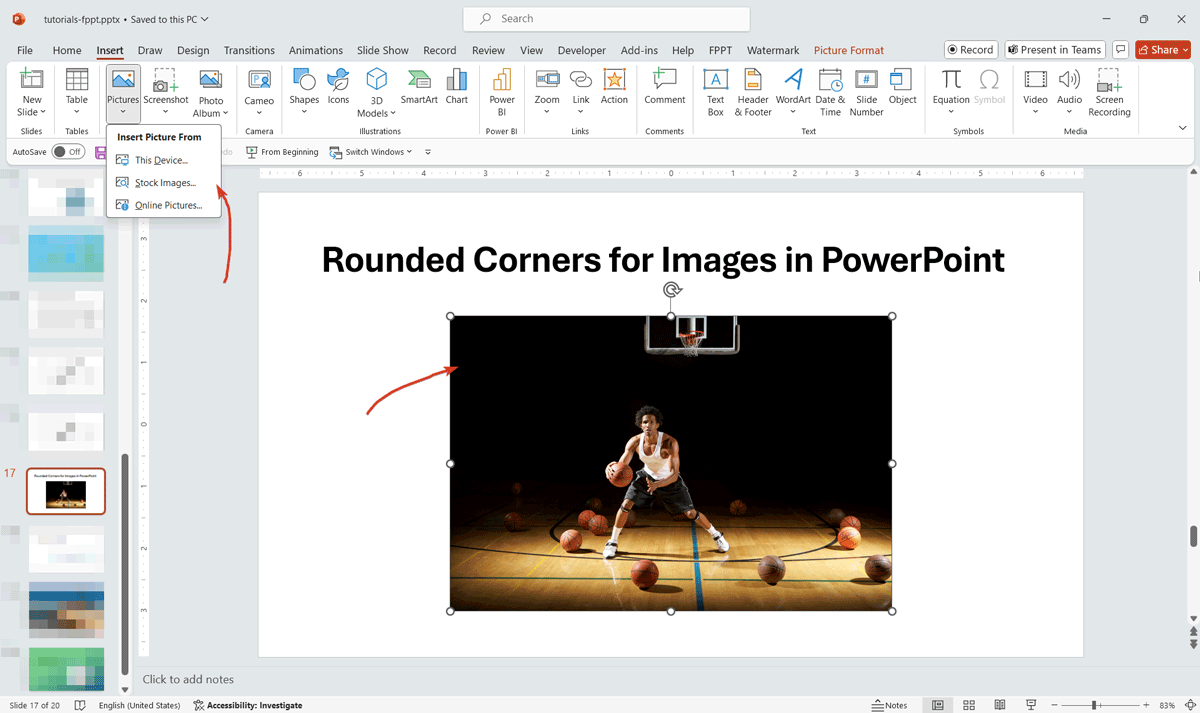
Insert Your Image: Open your PowerPoint slide, go to the Insert tab, and select Pictures to upload your image.
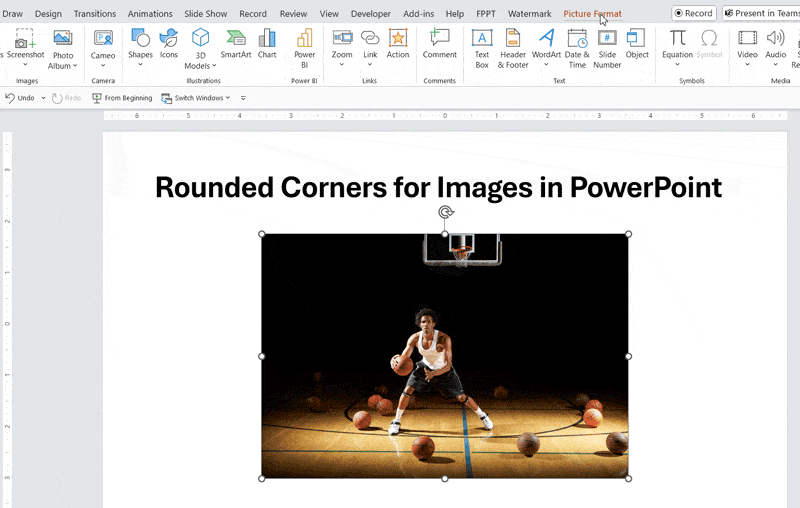
Select the Image: Click on your image to highlight it, then go to the Picture Format tab that appears.
Crop to Shape
In the Picture Format tab, find the Crop dropdown in the Size group. Choose Crop to Shape and select a shape with rounded corners, like the Rounded Rectangle shape.
Adjust and Position
If needed, adjust the corner radius by selecting Edit Shape > Edit Points. Then, resize and position the image on your slide.
If you want to enhance the visualization, you can add a borde, shadow, or other effects from the Picture Styles in the Picture Format tab to make your image stand out.
By following these straightforward steps, you can easily add rounded corners to your images in PowerPoint, enhancing the overall design of your presentation. This small adjustment can make a big difference in how your slides are perceived, helping you create a more polished and visually appealing presentation that stands out.
If you want to add tables (instead of images) with rounded borders, you can insert a shape with rounded borders at the background of the table and configure the table without borders.