How to create a Work Plan Timeline in PowerPoint 2010
Here we will show you how to create a work plan timeline for projects in Microsoft PowerPoint. This is a basic timeline that you can create using shapes and arrows in PowerPoint. The layout will be very simple, we will just add some shapes for the top project phases and then add text boxes for each activity.
We will focus first on the first column and here we will add a Chevron shape to represent the first Phase. Then we will add a text box below for the activities and we can add a title as well.
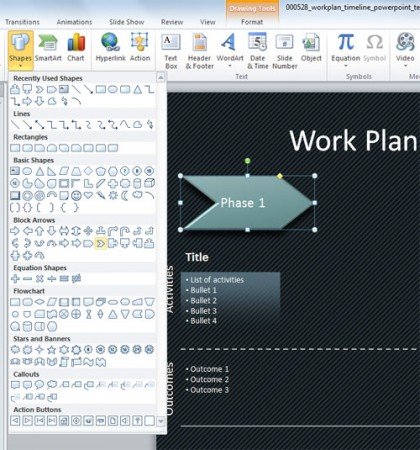
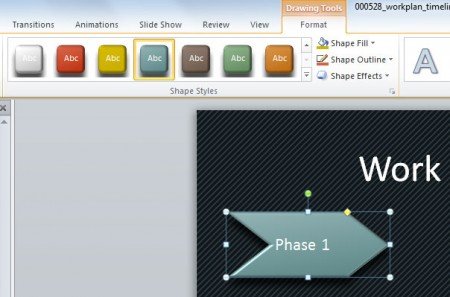
For the Phase shape we can use the shape shown above and then apply a basic styling effect from the Drawing Tools -> Format menu on top.
For the activities section, you can add a background for the activities box. We are adding here a gradient effect.
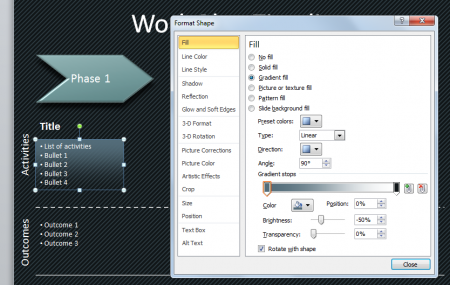
Just make sure to select the activities box and then right click to configure the background options. Here you can change the Fill options and control the gradient effect. You can for example move the transparency slider to make one side transparent and then use another color for the other side.
For the Activities label and Outcomes label we can change the Text box properties in PowerPoint to make it middle aligned vertically. Here we will show you how to change the Vertical Alignment.
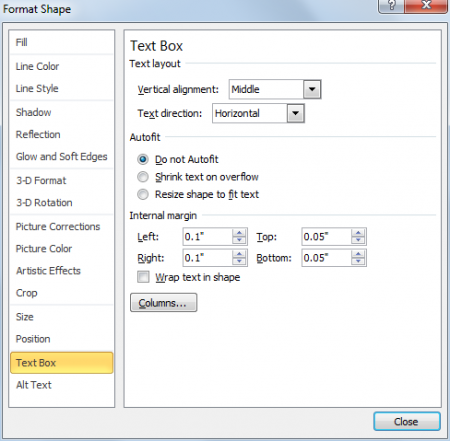
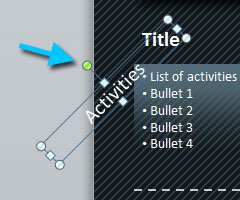
You can rotate the label to make it vertical by moving the green small icon in the image below.
Once we are ready with the first column, we can copy the entire column and paste three times or four.
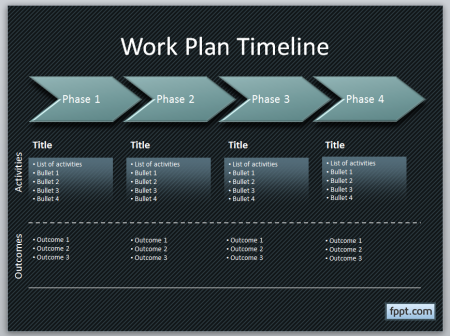
This is great to make work plan timelines and activities diagrams in PowerPoint. You can take advantage of shapes and add some styling to make nice business diagrams for presentations in Microsoft PowerPoint.
