How to Create a Torn Paper Effect in PowerPoint 2010
In PowerPoint we can create amazing effects using images and shapes. Here we will show you how to create a torn paper effect in PowerPoint 2010. In order to follow this tutorial the key is to insert a rectangular shape and then change the background shape picture instead of just inserting a picture.
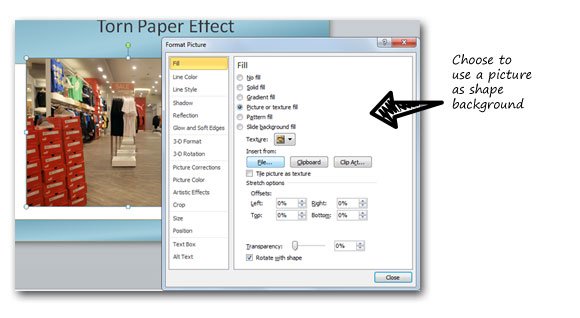
So, draw a rectangular shape and then click the format options to fill with a picture image.
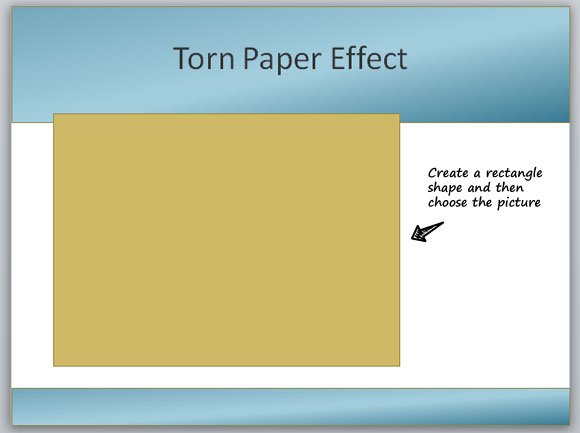
Choose the picture, for this example we will use a photo taken inside a Puma store. You can use your own photos even if it is a Nike store or any other picture you want to use.
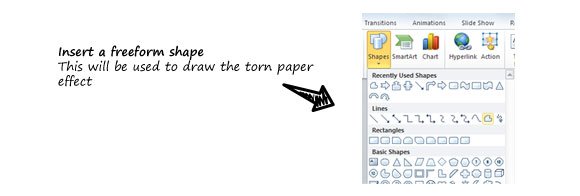
Once you have inserted the rectangular shape and changed the background image, now draw a freeform shape that will be used to create the torn paper effect.
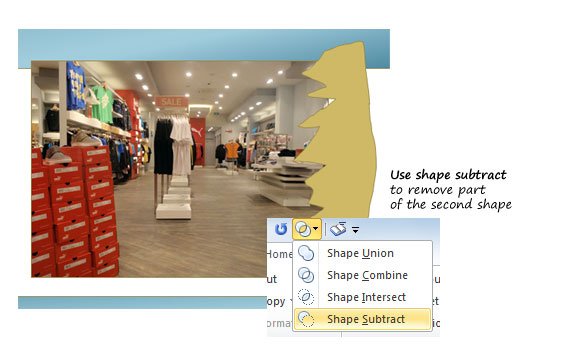
Draw the torn paper border like in the image below and when you are ready we will select both shapes, the image shape and the torn paper. In this order, please. Then we will use the Shape Subtract option (Combine Shape feature that let you apply some basic set operations for example shape union, intersection, subtract and combine operations).
Finally we can apply some shadow effects in PowerPoint picture and then remove the border just to make it more realistic and here is the final output for the torn paper effect. This same approach can be used to make other kind of designs, for example if you need to make a frame border in PowerPoint or a PowerPoint background with a border.

You can replicate the same steps to reproduce a similar output but using a plain color instead of an image, this can be great for example if you are planning to create a PowerPoint template for your organization.
