How to Create a Photo Frame using Gradient and Advanced Image Processing Techniques in PowerPoint
If you wanted to learn about advancing image processing techniques in PowerPoint then this simple but useful article can help you to understand how to add a simple photo frame in PowerPoint 2010 using gradient fill and transparency.

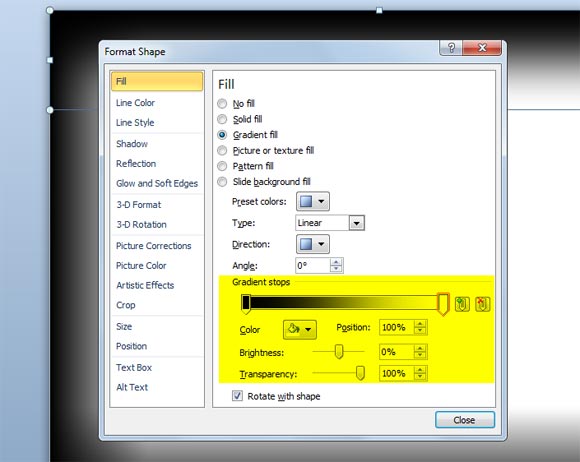
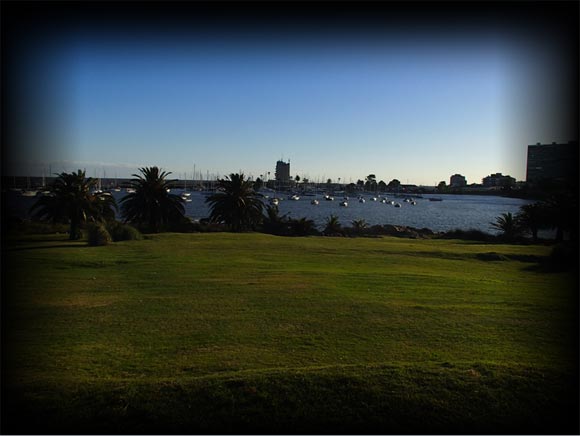
First, we will add a rectangle and fill it with a gradient fill style. The trick here will be the following. For the gradient style, we will use 100% transparency for one of the colors. Then, we will duplicate the shape and rotate it for the other side of the frame, like in the picture.

To get this effect, you must change the Format Shape options and choose the following gradient stops. Make sure to use 100% value for Transparency for the white stop but 0% for the black stop color.

Now you can insert PowerPoint images and pictures into the slide. Make sure to send it to the back so the frame and corners will appear on front.

Now, you can download the free template for PowerPoint that we have created, including this free PowerPoint image and high quality photo with a boat port taken in Montevideo, Uruguay that you can use in your slides.
Corner PowerPoint Template (849 downloads )