How to Change Margins in Google Docs and Google Slides
Many people upload their Word documents to Google Docs or their PowerPoint presentations to Google Slides. Since the capability of both these web apps has greatly increase over the years, many people now also use them for presenting documents and slides via large digital screens and projectors.
However, switching to the big screen can result in the files appearing a bit out of proportion. In this post we will show you how to change the margins on Google Docs and Google Slides.
How to Change Margins in Google Docs
To change margins on Google Docs, go to File menu and select Page Setup.
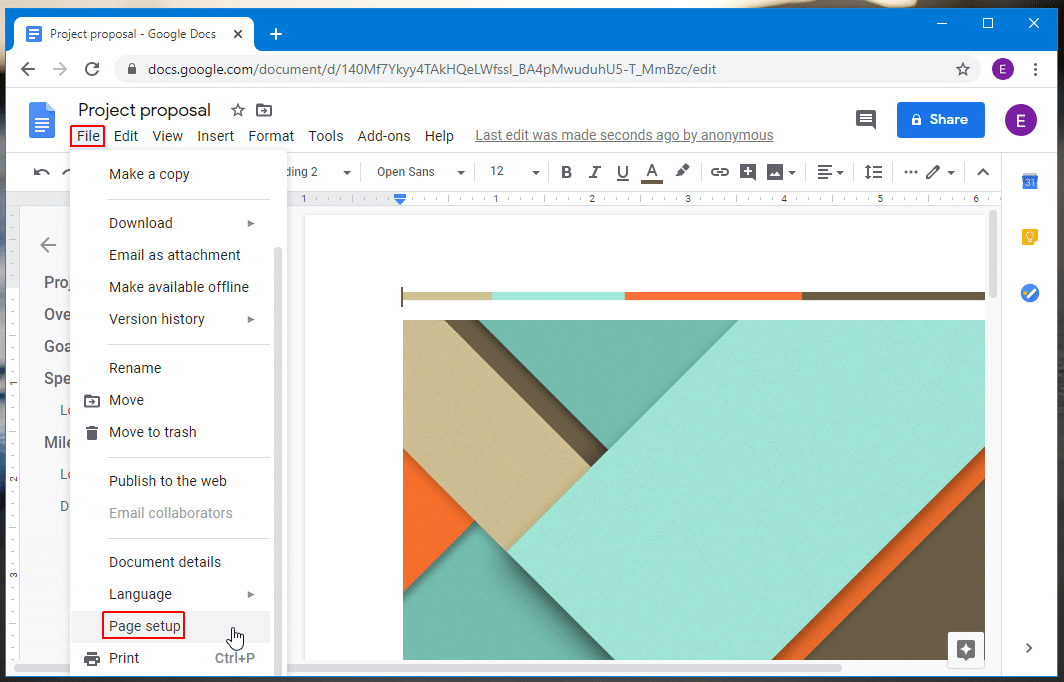
The Page Setup menu in Google Docs provides options for changing the orientation between Portrait to landscape, paper size,page color and margins.
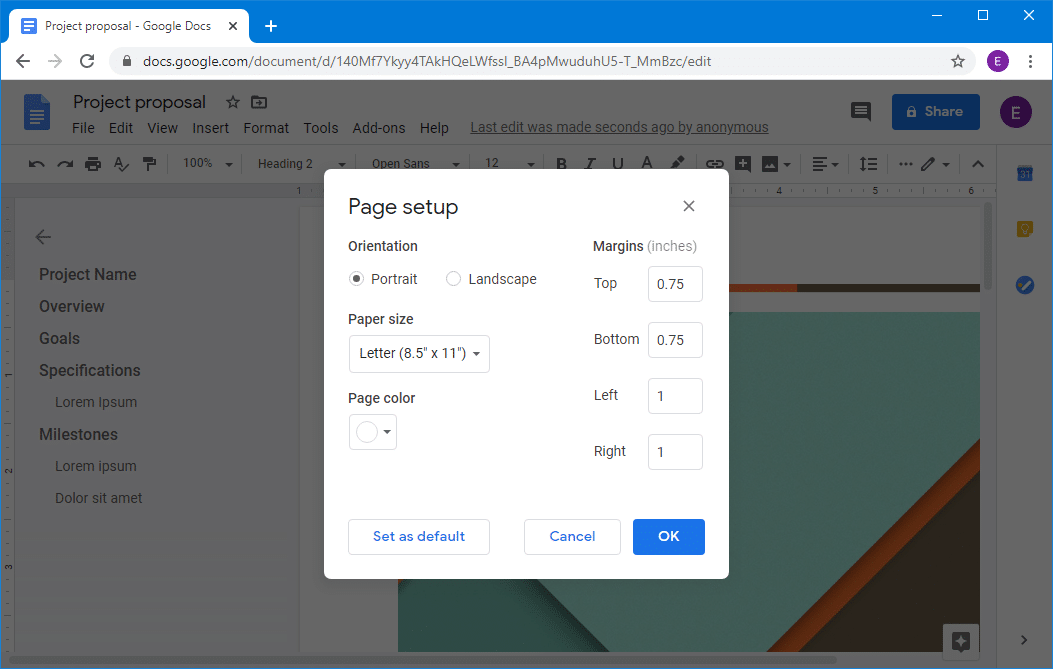
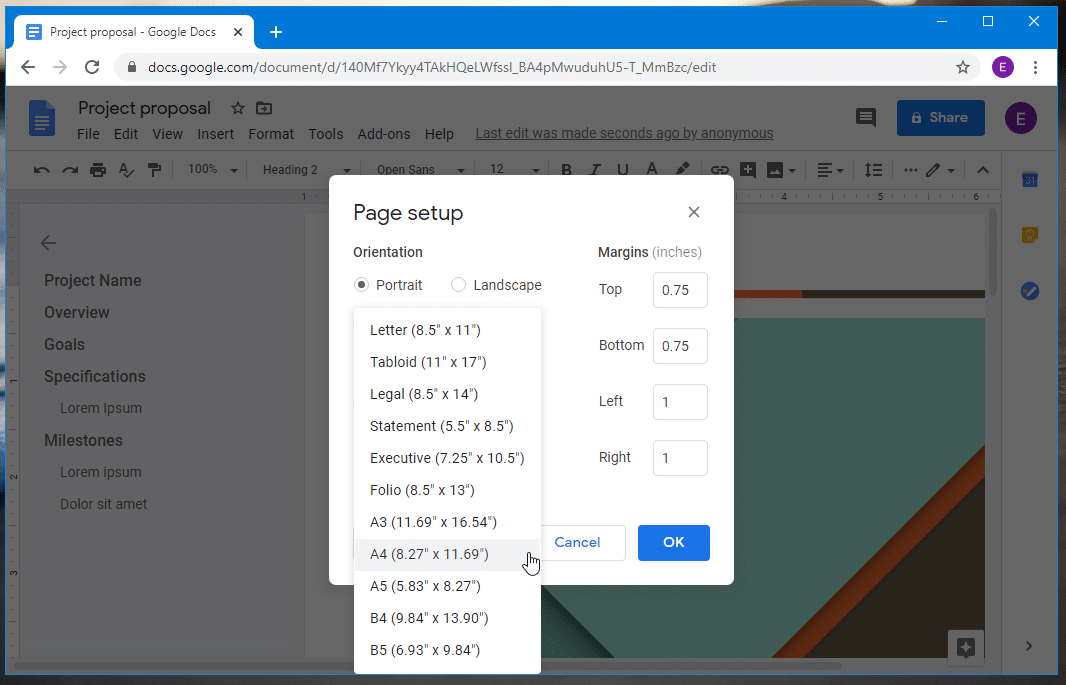
Using the options in Page Setup you can easily choose between a wide range of paper sizes to match your document creation or big screen requirements to adjust your document margins. Furthermore, you can also manage the margins in inches from all four directions using the menu options on the right.
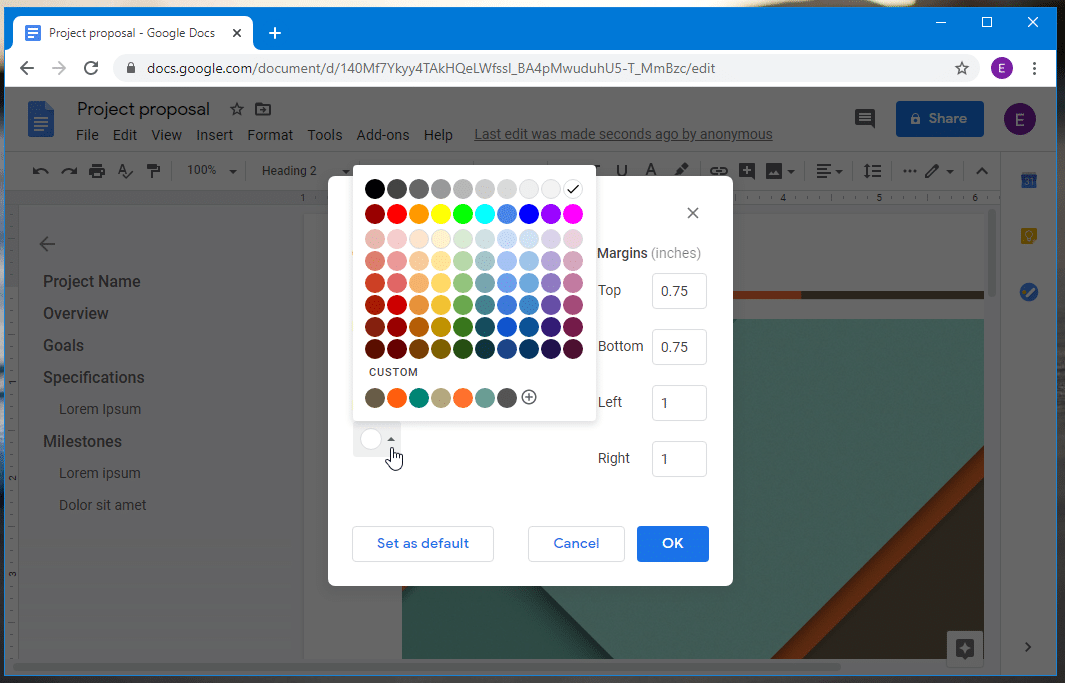
Similarly, you can change the document color to match your design requirement. In case you find the new settings out of proportion, you can always use Set as default option to reset the document.
How to Change Margins in Google Slides
Changing margins in Google Slides is the same as Google Docs, with a few subtle differences. You can start by going to File, followed by Page Setup.
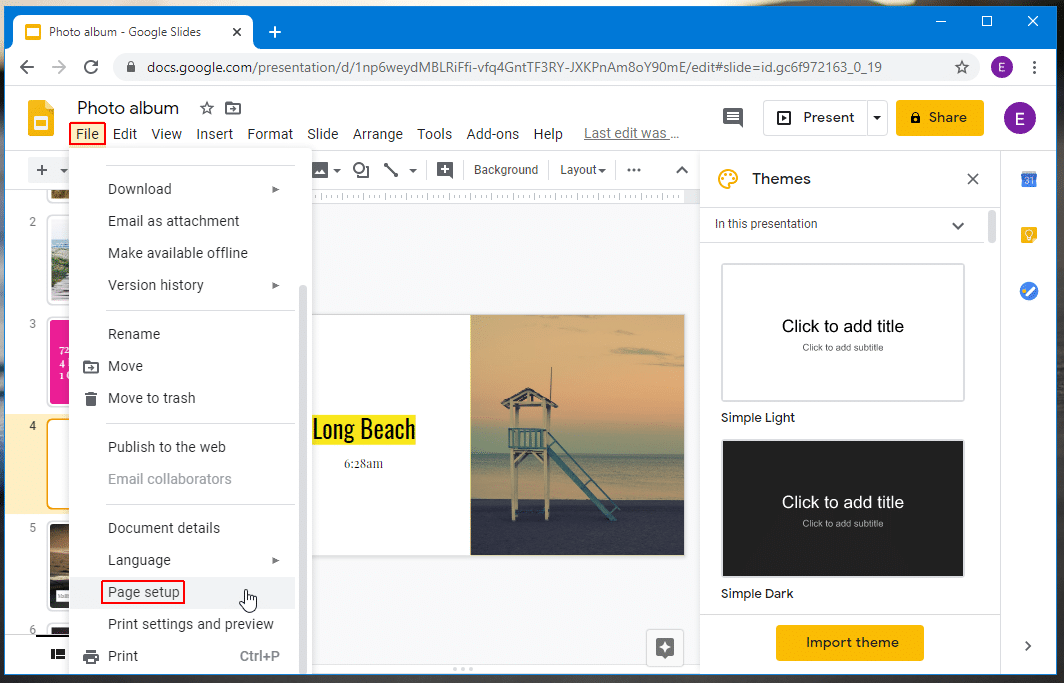
Google Slides gives four orientation options including one standard, two widescreen and one custom orientation option.
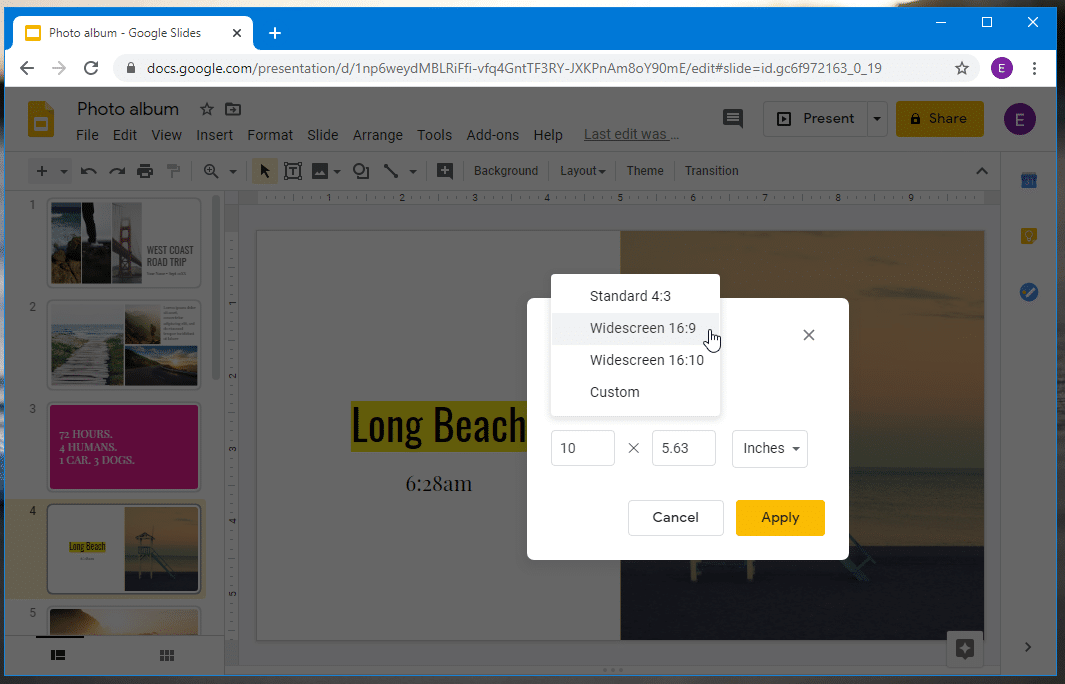
If you find the Standard 4:3 or the Widescreen 16:9 or 16:10 to be inadequate, you can switch to Custom and define a custom slide orientation to suit your needs.
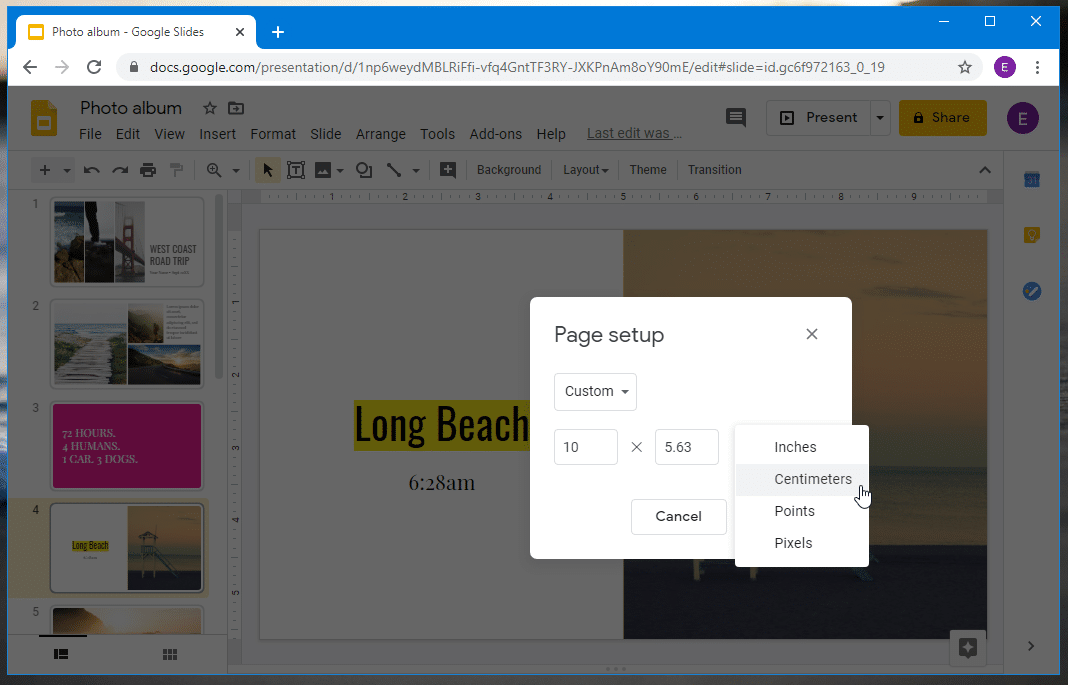
Using the simple method above, you can easily manage your margins in Google Docs and Google Slides for creating documents that suit your file orientation requirements and digital screens.
