How To Arrange Objects To Front or Back in PowerPoint 2013
Objects play a major role in making diagrams in PowerPoint. A while back we brought you a post about the meaning of flow chart symbols. All symbols used in this tutorial are available in PowerPoint and you can use them and other shapes to demonstrate various important aspects of your presentation topic.
How to Arrange Objects to Create Custom Diagrams in PowerPoint
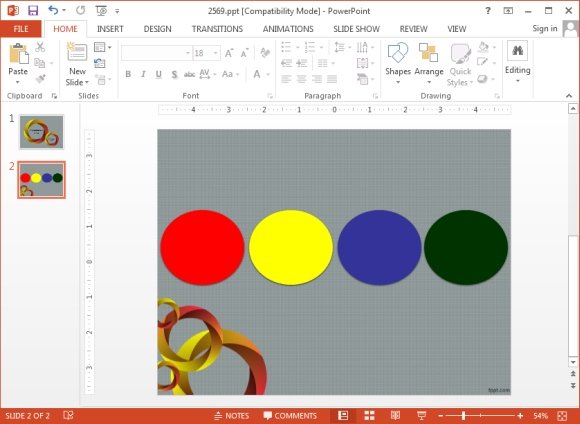
One of the hurdles in making a shape based diagram is that you might find it confusing to stack objects on top of each other. For this purpose you can use a few simple options in PowerPoint which allow arranging objects to front or back. For the purpose of this post we will use the Circular Mesh PowerPoint Template and show you how to align objects to create custom diagrams in PowerPoint 2013.
Bring Object One Step Forward
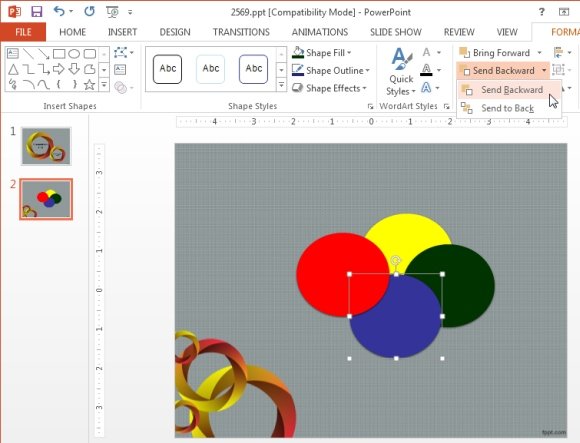
To bring an object one step forward, click the object go to the Format tab and click Bring Forward. This will bring the object a step forward.
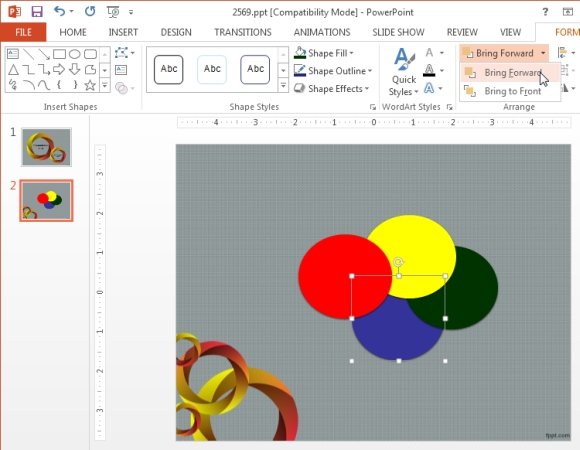
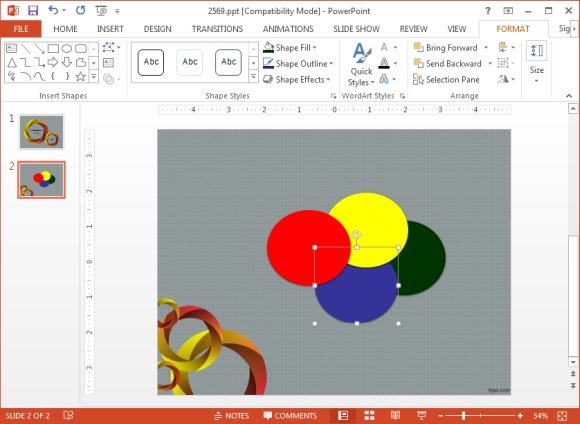
The below image shows the blue circle above the green circle. It was brought one layer forward (see the image above to spot the difference).
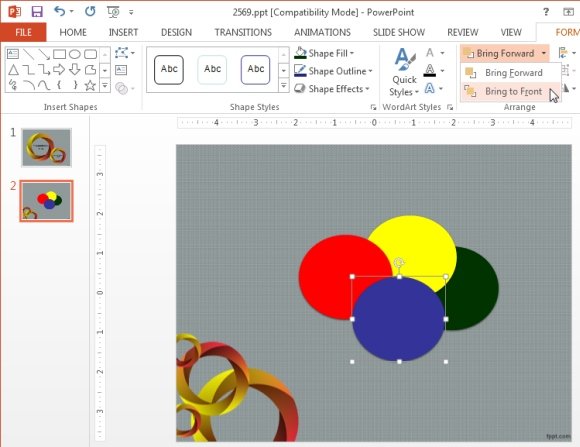
Brining Object Directly to The Front
In case you wish to bring an object directly to the front without having to go layer by layer, go to the Format tab, expand the Bring Forward menu and select Bring to Front.
Send an Object One Step Backward
Similarly, you can send object back one step by selecting Send Backward from the Format tab.
Send an Object Below All Other Objects
To send an object below all other objects to the Format tab, expand the Send Backward menu and select Send to Back.
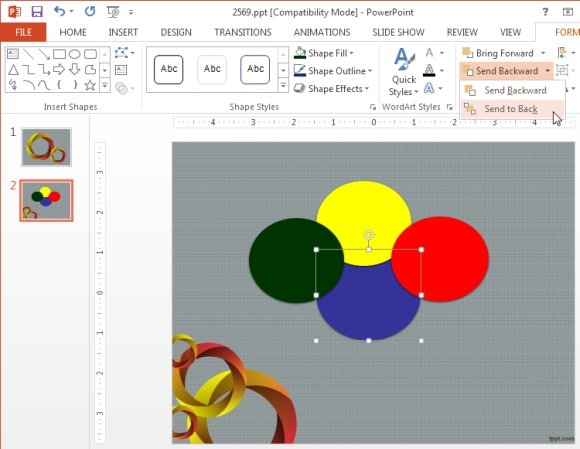
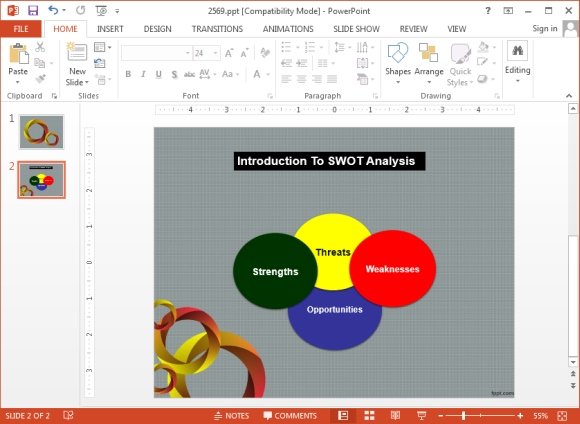
The below image shows a sample diagram created with circular shapes. Using this simple tip you can align objects in PowerPoint to create custom diagrams. For more tips like these, see our PowerPoint Tips section.
