How to apply artistic effects in PowerPoint 2010
PowerPoint 2010 comes with a full set of styles and effects that you can apply to images and graphics in Power Point. This feature is called Artistic Effects and it is different than the Picture Effects in the sense that you can apply effects directly into the image.
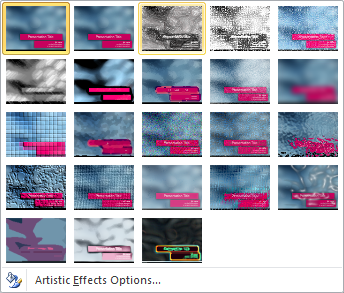
In order to apply artistic effects into a PowerPoint image or graphics you’d need to select the image and then choose an effect. Here is a list of effects available in PowerPoint.

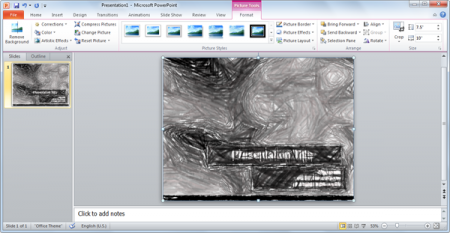
For example you can apply Pencil Grayscale to an image and this will be the final result.

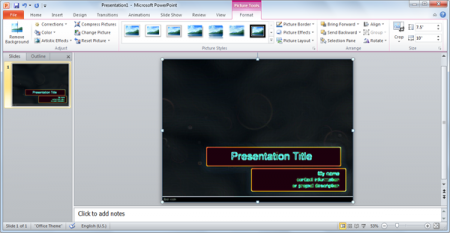
There are many different effects to apply, but some of them are really grat. For example if you want to make an image negative in PowerPoint then you can apply the soft grow edge effect.

Here is a list of available artistic effects in PowerPoint:
- Marker effect
- Pencil Grayscale effect
- Pencil Sketch effect
- Line drawing effect
- Chalk Sketch effect
- Paint Strokes effect
- Paint Brush effect
- Glow Diffused effect
- Watercolor sponge effect
- Lightscreen effect
- Blur effect
- Film grain effect
- Mosaic bubbles effect
- Cutout effect
- Cement effect
- Texturizer effect
- Photocopy effect
- Pasterls Smooth effect
- Crisscross Etching effect
If you need more effects or more advanced artistic effects then you can use Adobe Photoshop or any image editing software or application to modify your image and then insert it into PowerPoint.
