How To Add Wipe Transition Effect To PowerPoint 2013 Presentations
In previous posts we explored the use of Push and Fade Transition Effect in PowerPoint 2013. Among the plethora of transitions that you can apply to your PowerPoint slides, one very interesting effect is the Wipe Transition Effect. Let’s take a look at how you can apply the Wipe Transition Effect and what might be the benefits of using it in a PowerPoint presentation.
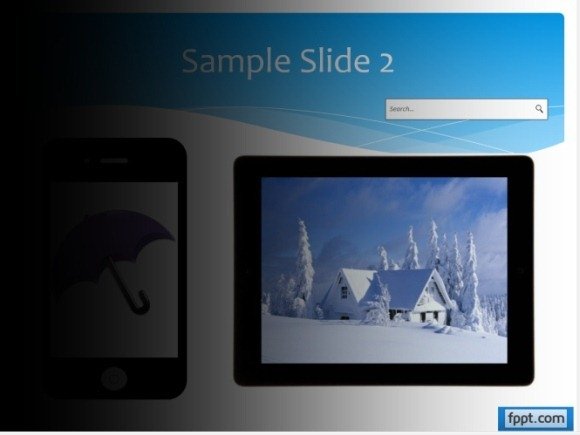
The Wipe effect basically displays the next or previous slide by wiping off the current slide with the next one. This effect can be applied in a variety of ways, as you can enable the wipe effect to sweep the current slide from right, left, top bottom, bottom-right, bottom-left, as well as top-right or top-left of the screen. Using the Wipe effect can help you add a touch of style to your presentations and it may even be quite suitable for your presentations topic (e.g. a presentation about weather or a business presentation where you may wish to “Wipe Off” the stats for the previous quarter with the current slide, displaying how your company might have improved).

How To Add The Wipe Effect in PowerPoint
To add the Wipe effect, go to the Transitions tab in PowerPoint and select Wipe. This will add the effect between the current and adjacent slide. To select the direction of the effect (e.g. bottom or bottom-right), go to the Effect Options drop down menu and select a direction. The below video demonstrates how you can add the Wipe effect in your presentations.
