How to Add Transparency to a Picture in PowerPoint
Last updated on December 23rd, 2024
In this article, we explore two different ways to make your pictures transparent in PowerPoint. We will show you to methods to add transparency to pictures in PowerPoint. The first method is compatible with almost all versions of PowerPoint, while the second method is the recommended approach for recent versions of PowerPoint.
So, how do you make a picture transparent in PowerPoint?
Method 1: Inserting a Picture Using Fill Option and Controlling Transparency Level
In older versions of PowerPoint there is a workaround to this problem of making a picture transparent. If you want to adjust the transparency of an image in PowerPoint, you can do the following:
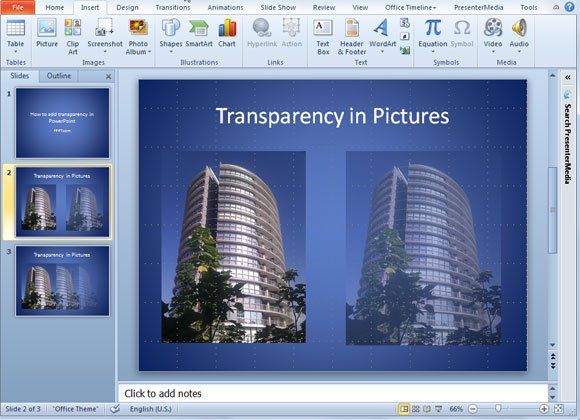
The workaround to add transparency to PowerPoint images that we will show here uses shapes. You need to draw a shape and fill the background with an image. Then you will be able to control the transparency of the background. This method will help to add transparency to any image in PowerPoint slides and you can use it to add a watermark in your slides or just to make your images with transparency effect.
To summarize, the steps you need to follow to add transparent images in PowerPoint or make image transparent in PowerPoint are:
- Add a picture to the slide or a new shape (ie: rectangular shape)
- Choose the Format Picture (or if it is a shape, use Format Options and Fill Background using Pictures)
- Adjust the transparency level to the desired percentage
This video will help to understand how it works.
Method 2: Change the Transparency Level for Pictures
Another Approach to Make an Image Transparent in PowerPoint presentation is to use the Transparency options in PowerPoint. This approach is available in newer versions of PowerPoint and Office 365.
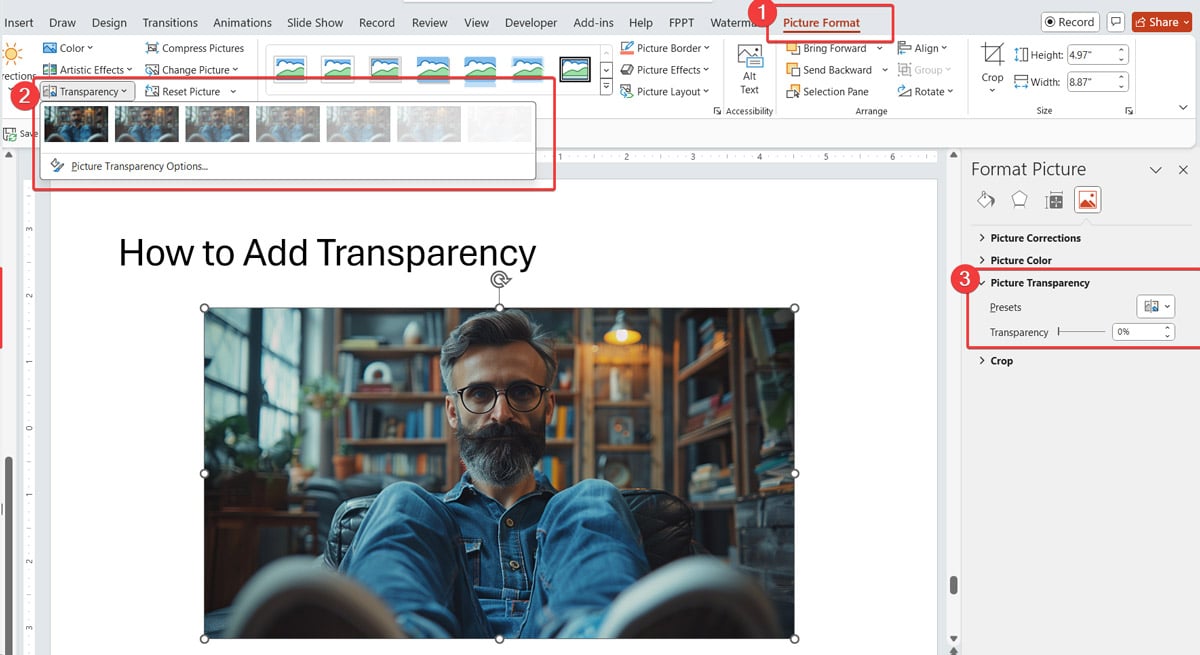
After you insert a picture, you can go to Picture Format and find the Transparency button there. Click on the desired transparency level and this will make your image semi-transparent. You can see how it looks here:
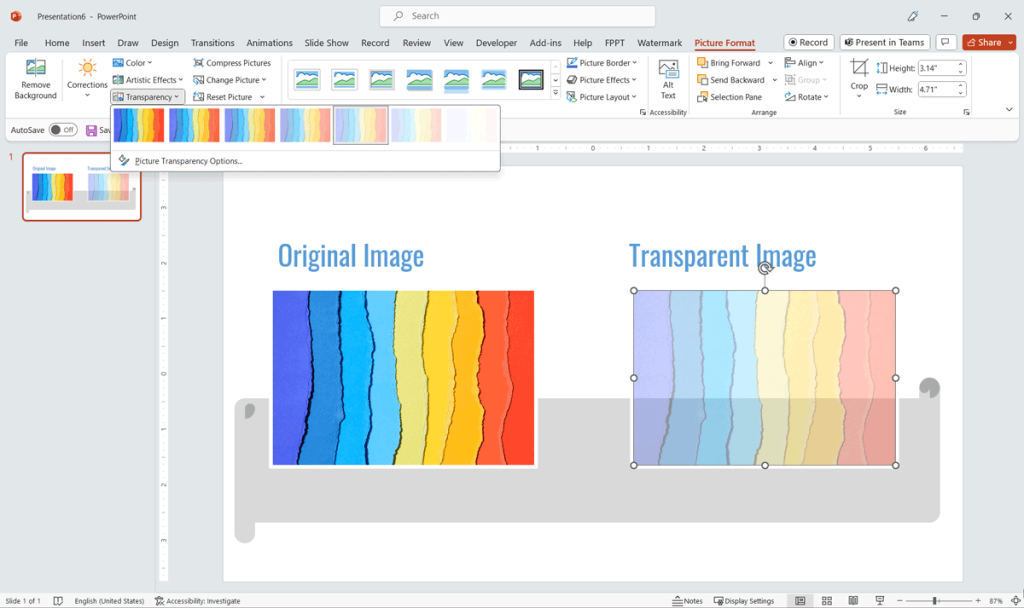
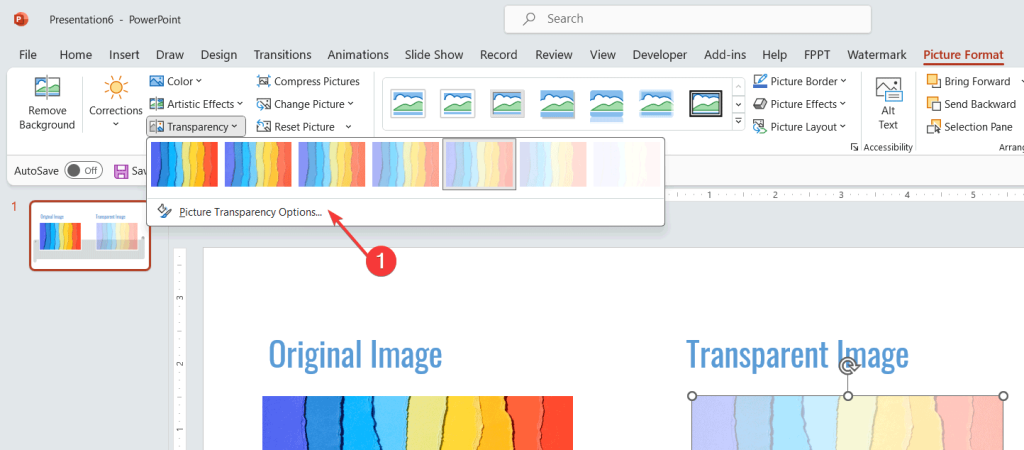
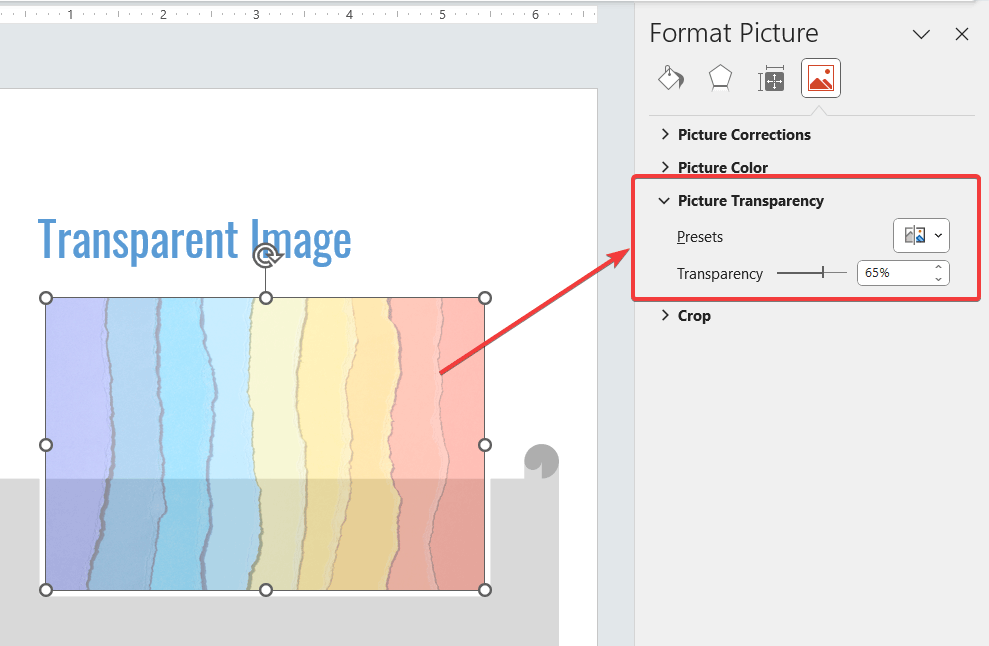
If you want to control this better and change the transparency of a picture in PowerPoint, you can use the transparency options. Go to Picture Format and click on Transparency button, then click Picture Transparency Options.
Then, the Format Picture pane will appear, and under Picture Transparency section you can select the transparency level, or choose it from any of the pre-defined Presets.
Alternatively, you can also adjust the text transparency level, for example, to make a text semi transparent in PowerPoint.
Use Cases of Making Pictures Transparent in PowerPoint
Now, let’s explore some possible use cases for presenters to make pictures and images transparent in PowerPoint and control the transparency level:
- Highlighting important content: One of the most common use cases for adding transparency to images in PowerPoint is to highlight important content. By making the image transparent, you can draw the audience’s attention to the specific part of the image that you want to emphasize. This can be particularly useful when presenting data or statistics.
- Creating overlays: Another use case for transparent images is to create overlays. For example, you can add a transparent image of a person or object over a map or graph to create a visual connection between the two elements. This technique can help to make your presentation more engaging and dynamic.
- Adding watermarks: If you’re sharing your PowerPoint slides with others, you may want to add a watermark to PowerPoint slides to protect your content. By adding a transparent image as a watermark, you can ensure that your content is not easily duplicated or shared without your permission.
- Enhancing visual appeal: Adding transparency to images in PowerPoint can also be a great way to enhance the visual appeal of your slides. By using transparent images as backgrounds or overlays, you can create a unique and eye-catching design that will capture your audience’s attention.
Learning how to make images transparent in PowerPoint is a valuable skill for presenters and presentation designers. By mastering this technique, you can add visual interest to your slides and highlight important content in a creative and engaging way. So, don’t hesitate to give it a try and see how it can enhance the impact of your presentations.