How to Add Image to Text in PowerPoint
When it comes to presentations, a title with a plain background can do more sprucing up without making it too gaudy. One of the best tricks to do this is by adding images to your text. Adding images to your text can help you create that elusive presentation design balance of aesthetic and function. Without using too many bells and whistles, you can effectively associate imagery with a single impactful word with images within the text. Here is how to add image to text in PowerPoint.
You can do this instead of adding graphics or images in your slide, which can take away from the minimalist or modern look you may want to convey. Doing so is also an effective and efficient way of hitting two birds with one stone, so to speak. You emphasize your idea and then support that idea with powerful and relevant imagery.
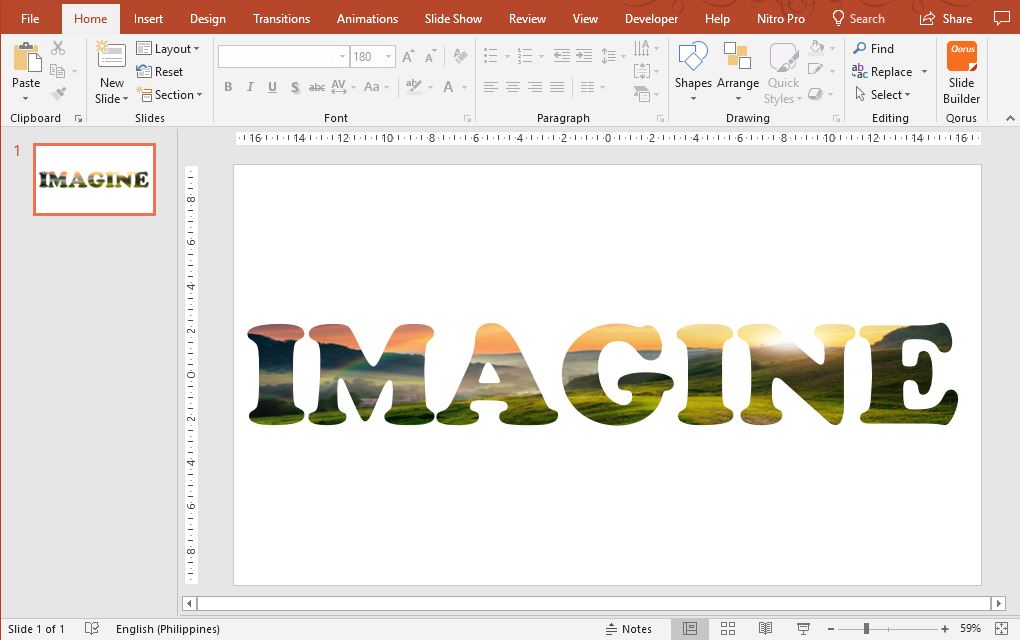
Make Your Image in Text Stand Out
To add an image to text in PowerPoint, you have to first keep in mind that your text should be brief, powerful, and to the point. This is how you will make the most of the effect in one slide. Pick a word or short phrase that best encapsulates your idea or message.
You should also consider the right font face and font size to use to make the image inside the text be at least clear, if not stand out. Bold, thick, and even simple sans serif fonts can work best for this effect. Consider this sample below for a before and after look of your text.
As for the background, you may already have a theme applied to your slides. For this effect of having to add an image to text in your PowerPoint slide, it’s best if your background is a plain solid color in order to shift the focus to your text. While modern and geometric designs can also work, you have to be careful to create an aesthetic balance to your slide. This should also match well with the rest of the slideshow for a seamless, polished look.
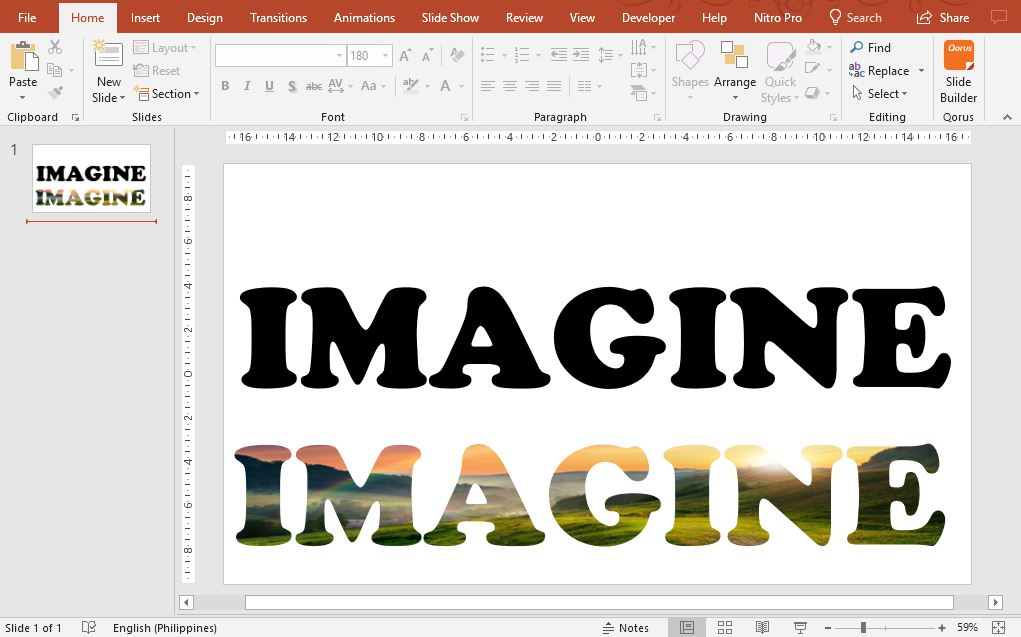
How to Add Image in Text in PowerPoint
First, you should have a blank slide. You can insert a new blank slide from an already existing and open PowerPoint presentation. You may also open a new presentation from File -> New.
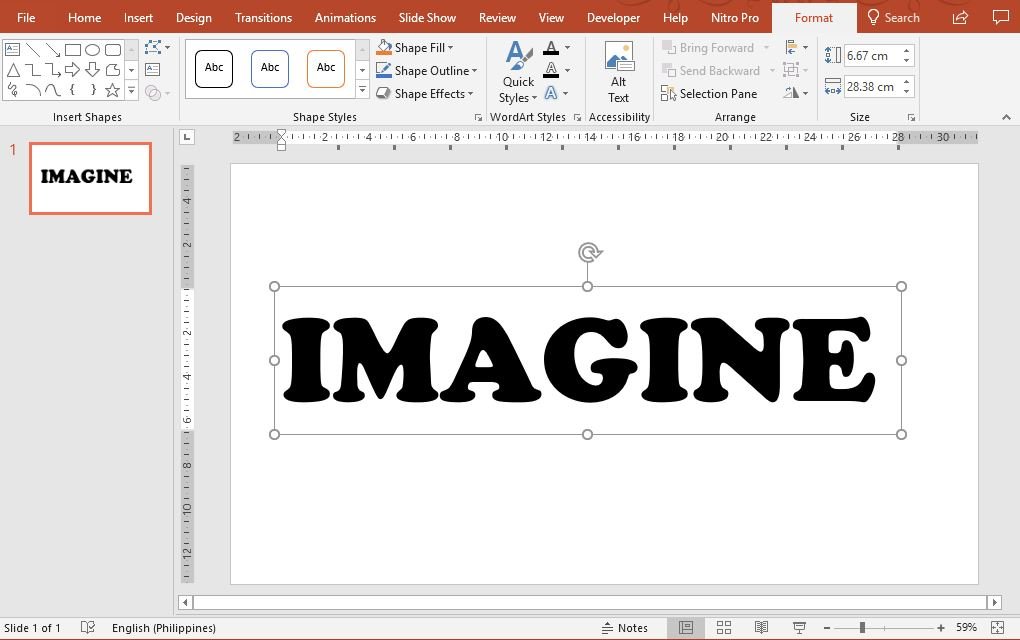
Now, using the text-box, type a word or phrase. Then, format the font face and size, making sure that you format it in the way that your image later on will be clear and visible in the text. Then, highlight your text so that the Format button under the Drawing Tools in the Ribbon will appear. Here, you can make further customizations to your text.
What you should look for now in the Format button is the Text Fill option. Click on this to reveal all the different text fill options like color fill, gradient texture, and picture.
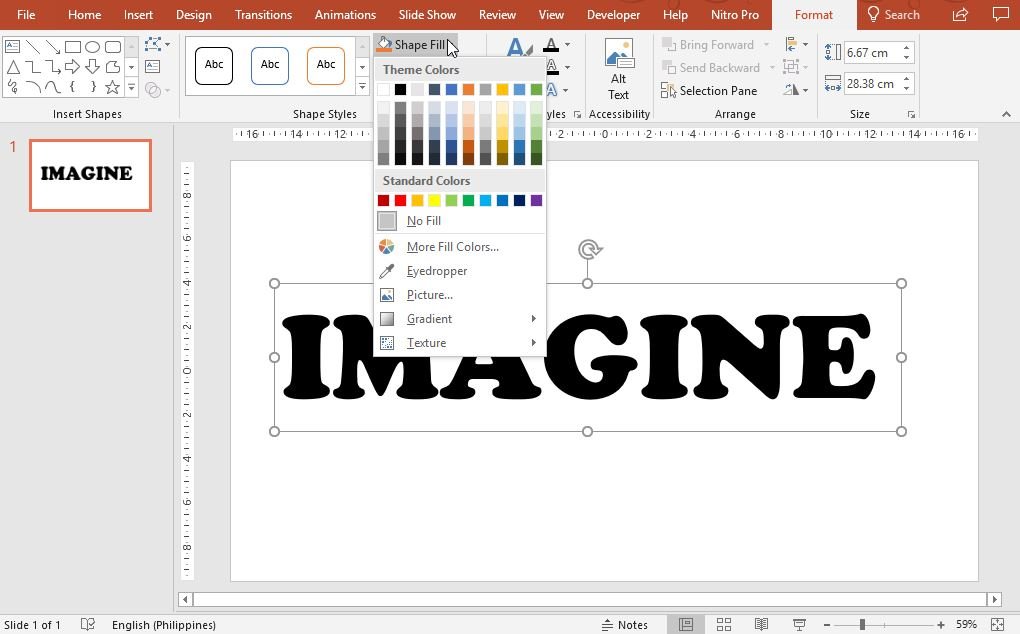
Choose the Picture fill from this list of options. Once you click on this, a new dialog box will appear, which will allow you to choose the image that you want to use to add to your text as a picture fill. Locate your image from your computer and click on Open. This will insert the image into the text automatically.
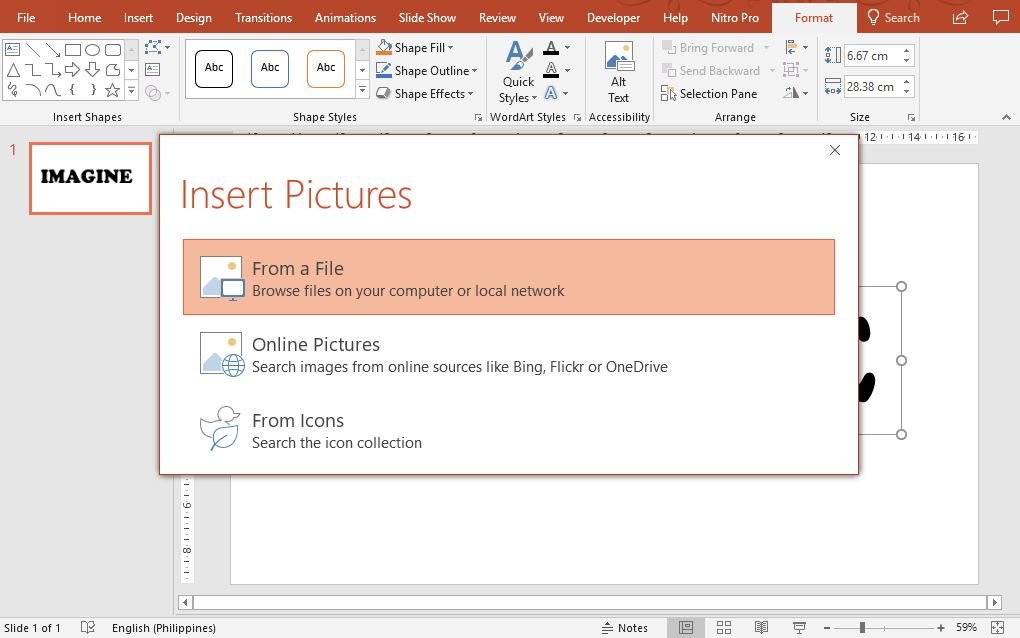
You may also look for other pictures to use in your text if you’re not satisfied with your first choice. Simply do the same steps for changing pictures.
