How to Add Captions to Images in PowerPoint (Step-by-Step)
Last updated on April 2nd, 2025
Adding captions to images in PowerPoint helps make your presentations more accessible and visual appealing. Whether you’re a student, educator, or business professional, using captions effectively can elevate the clarity of your message and overall presentation. In this quick guide, you’ll learn step-by-step how to add caption to images in PowerPoint, the difference between captions and alt text, and best practices for professional slide design.
Step 1: Insert Your Image
- Open PowerPoint and navigate to the slide where you want to add an image with a caption.
- Go to the Insert tab in the ribbon.
- Click on Pictures and choose the image source: This Device (for local files), Stock Images, or Online Pictures.
- Select your image and click Insert. The image will appear on your slide.
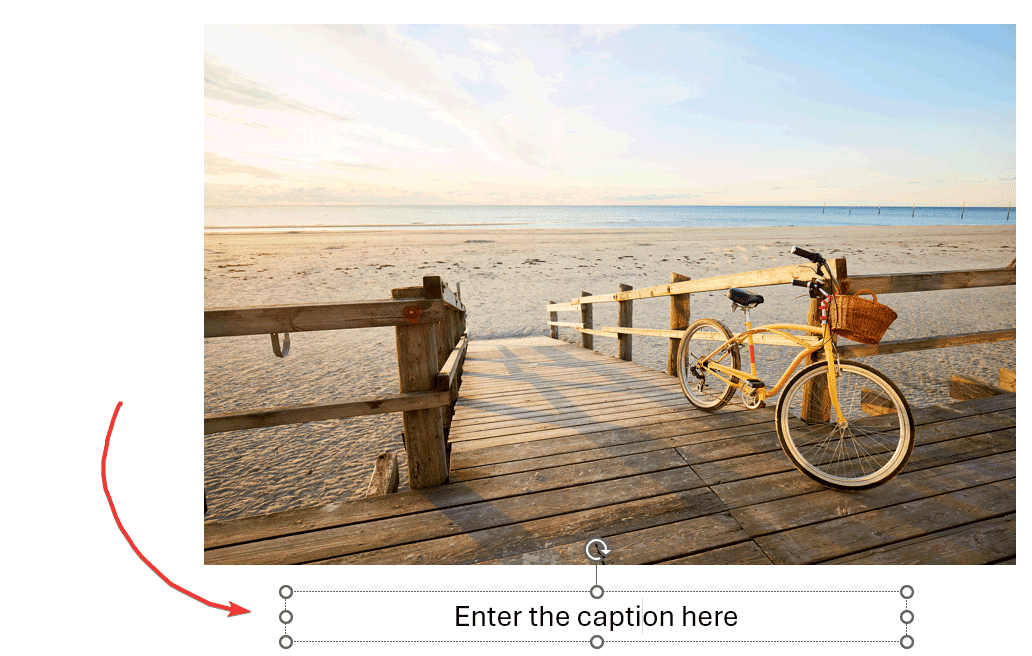
Step 2: Insert a Text Box for the Caption
- With the image selected, go back to the Insert tab.
- Click on Text Box in the ribbon.
- Click on the slide, near the image, to draw the text box. You can adjust its size and position to align it perfectly with your image.
Step 3: Add and Format Your Caption Text
After you add caption to picture in PowerPoint, you can customize it by applying formatting to the text and shapes.
- Click inside the text box and type your caption.
- Format the text by highlighting it and using the options in the Home tab to change the font, size, color, and alignment. You can also use the Bold, Italic, or Underline options to emphasize certain parts of the caption.
- To adjust the position of the text box relative to the image, simply click and drag the text box to the desired location.
Step 4: Group the Image and Caption (Optional)

To keep the image and caption together in the PowerPoint slide, especially if you plan to move them around on the slide, you can group the shapes:
- Select the image by clicking on it.
- Hold down the Shift key and click on the text box to select both the image and the caption.
- Right-click on the selection, and choose Group > Group from the context menu. Alternatively, you can use the Ctrl + G shortcut.
Grouping the image and caption ensures they move together as a single unit, maintaining their alignment and positioning.
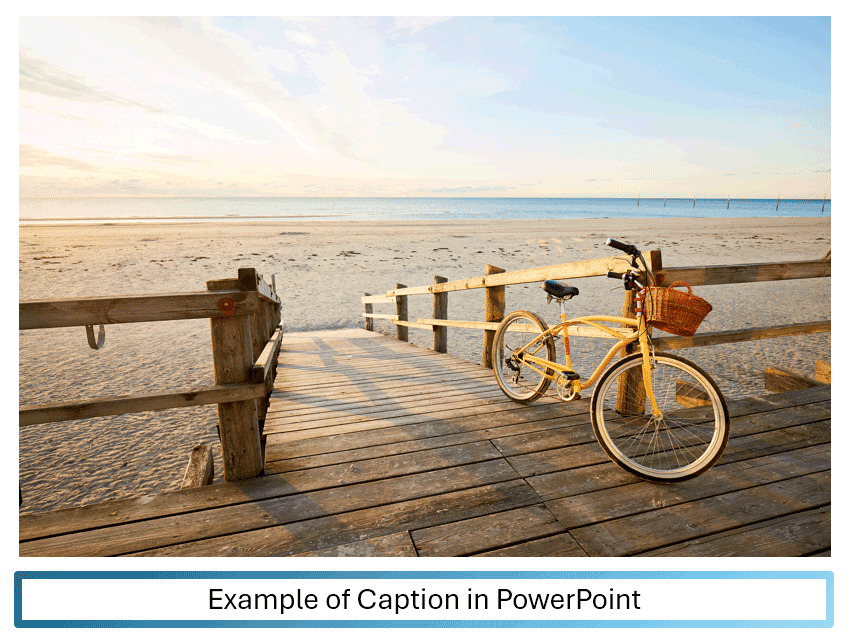
Step 5: Customize the Caption
- Add a border to the text box by selecting it, then going to the Format Shape options (right-click the text box and select Format Shape). Here, you can adjust the line color, thickness, and style to make the caption stand out.
- Add a background color to the text box to improve readability, especially if the image behind it is complex or colorful. This can also be done in the Format Shape pane under the Fill options.
What’s the difference between Alt Text in Images vs. Captions
Alt text and captions serve different purposes when working with images in PowerPoint or any digital medium, though both are important for enhancing the accessibility and clarity of your content.
Alt text, short for “alternative text”, is primarily used to describe the content of an image for people who are visually impaired. It is embedded within the digital code and is read aloud by screen readers, allowing users with vision impairments to understand what the image represents. Additionally, alt text serves as a fallback description if an image fails to load in a web browser.
Captions, on the other hand, are visible text that appears directly on the slide, usually placed near the image. Unlike alt text, captions are meant for all viewers, providing additional context or information about the image in the presentation or slide deck. They can explain, elaborate, or add commentary, making the content more engaging and informative for everyone in the audience. Captions might also include sources, credits, or labels, adding another layer of information to the presentation.
One of the key differences between alt text and captions is their visibility.
Alt text is invisible during regular viewing and is only accessible via screen readers or when the image doesn’t display properly. This makes alt text crucial for accessibility but not a part of the visual design of the presentation.
In contrast, captions are always visible and form an integral part of the slide’s visual layout, enhancing the audience’s understanding through text that accompanies the image.
The content of alt text is generally concise, focusing on describing the image accurately to convey essential information. For instance, an alt text might describe an image as “A red apple on a white plate,” ensuring that the core visual information is communicated. Captions, however, can be more detailed and expansive, offering explanations, context, or even additional data. For example, a caption might state, “This chart illustrates the significant increase in sales from 2019 to 2024,” thereby adding context to what the viewer is seeing.
Alt text is primarily used for accessibility purposes, making documents and presentations compliant with standards and ensuring that they can be fully understood by individuals using assistive technologies. It is crucial for any digital content that might be accessed by a diverse audience, including those with visual impairments. We explain how to disable alt text in PowerPoint.
Captions, by contrast, are used to enhance the visual and contextual understanding of content, benefiting all viewers, not just those with disabilities.
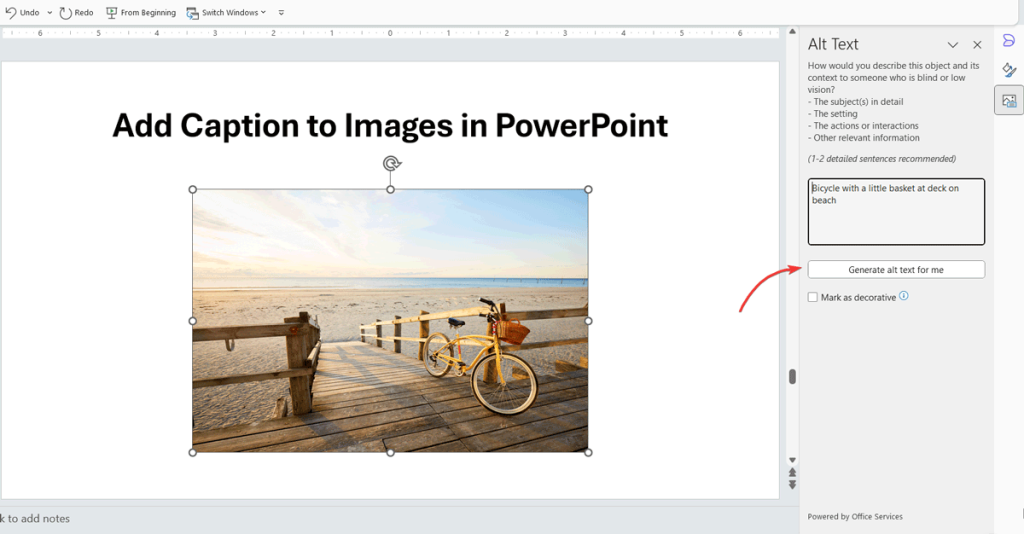
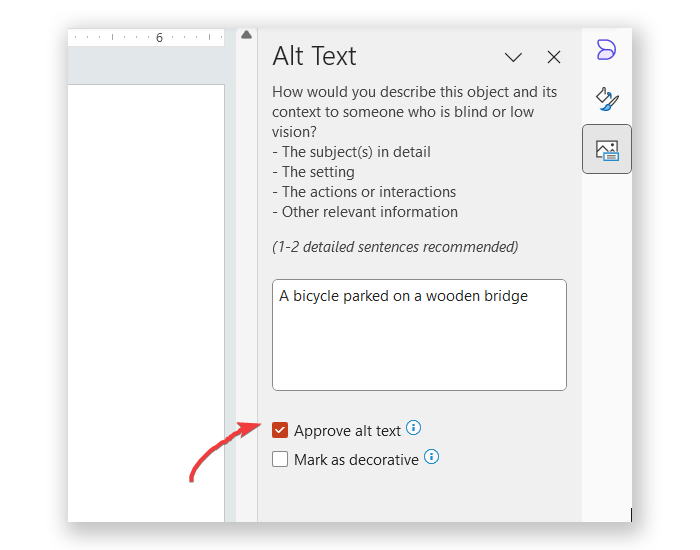
In PowerPoint, you can configure alt text for any image. Moreover, you can let PowerPoint generate the alt text for you, by analyzing the image and generating the alt text automatically.
In summary, alt text and captions both play essential roles in making content more accessible and informative, but they do so in different ways. Alt text focuses on accessibility for those who cannot see images, while captions add visible context and information that enhances the experience for all viewers. Understanding the distinct purposes of each helps in creating more effective and inclusive presentations.
Tips for Effective Captions
- Keep it concise: A caption should be brief yet informative, summarizing the key point or context of the image.
- Ensure readability: Choose a font size and color that stands out against the image background. If necessary, use a background color in the text box to make the text more legible.
- Position wisely: Place the caption where it complements the image, without covering important parts of the visual.
Adding captions to images in PowerPoint is a simple yet effective way to enhance your presentation. Whether you’re providing additional context, citing sources, or simply adding a descriptive label, captions can significantly improve the clarity and professionalism of your slides.
By adding captions to your images in PowerPoint, you create more inclusive and visually structured presentations. Captions help your audience grasp the meaning of visuals instantly. Follow these steps to easily incorporate captions into your PowerPoint presentations.
PowerPoint doesn’t automatically add visible captions, but you can use AI-generated alt text for accessibility, and manually insert text boxes for captions.
Use a font size between 12–18pt, depending on slide layout and image size. Ensure it’s legible from a distance.
Yes, you can change font style, color, add borders, and use background fills to ensure your captions complement your slide design.