How To Activate Laser Pointer in PowerPoint 2016
Recent editions of PowerPoint, like PowerPoint 2013 and PowerPoint 2016 provide many interesting options for presenters to help them emphasize different parts of their presentations, and one of them is the laser pointer. In this post we will show you how to activate the laser pointer in PowerPoint 2016.
Activating the Laser Pointer During a Presentation Slide Show
This is the most likely time when you would want the laser pointer to be active, i.e. during a presentation slide show.
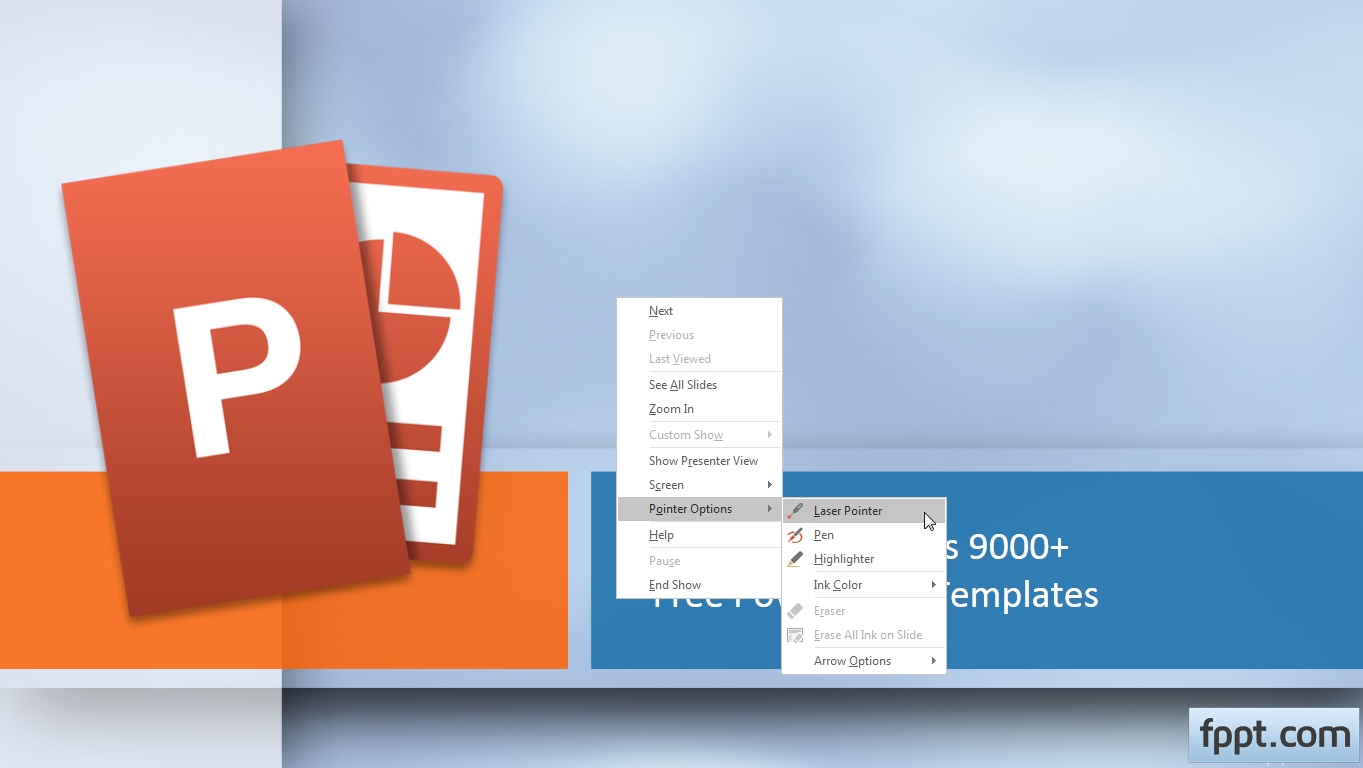
Method 1: You can activate the laser pointer by simply right-clicking on the slide show and going to Pointer Options –> Laser Pointer. This will enable the laser pointer as long as the slide show is running.

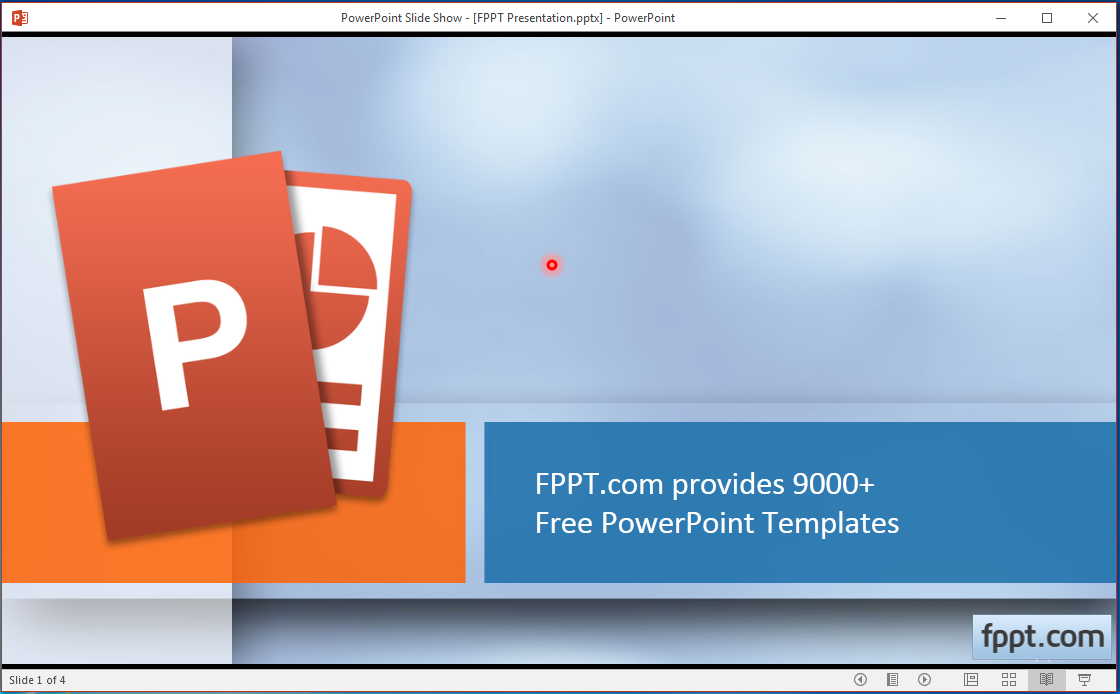
Method 2: Alternatively, you can use CTRL+left mouse-click and drag the cursor to activate the laser pointer in Slide Show mode. This method will only activate the pointer temporarily, as long as you drag the mouse.

Activating the Laser Pointer During Reading Mode
If you’re using reading mode, (View –> Reading View), you can activate the laser pointer using Method 2 mentioned above, i.e. CTRL+left-mouse click+ mouse drag.

Changing the Color of the Laser Pointer
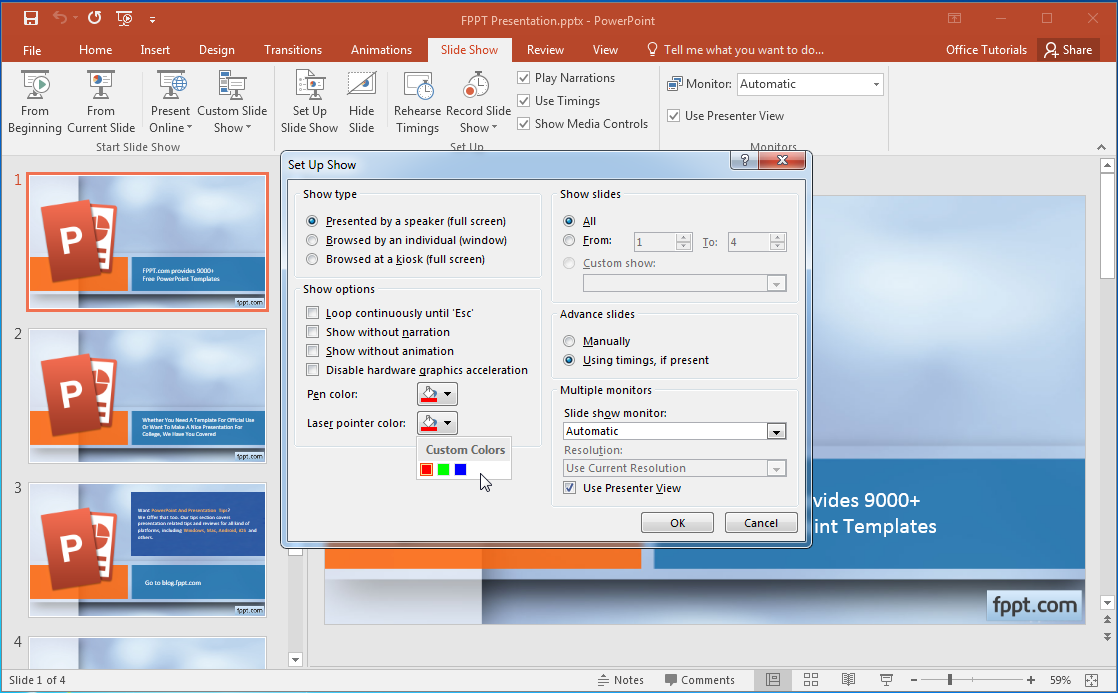
To change the color of laser pointer, go to Slide Show –> Set Up Slide Show. This will open the Set Up Show dialogue box. From here, you can change the laser pointer color (as shown below). This will change the pointer color once you activate it in Slide Show mode or Reading View.

As of now, there is no method to preenable the laser pointer by default. You will therefore, require manually enabling it during Slide Show mode or Reading View. It seems a bit unpractical to use the mouse during a presentation, therefore, you might want to turn your mobile device into a PowerPoint remote to remotely run the laser pointer. We suggest the use of AIO Remote for remotely controlling your PowerPoint slides using a mobile device.
