Drawing Bezier Curves in PowerPoint
Bezier courves can really help you to draw some interesting curves for your presentations and achieve great effects for your PowerPoint presentations. You can for example use Bezier curves in PowerPoint to draw a custom and smooth Gaussian curve or Bell curve to use your presentations, or you can make a simple curved PowerPoint template.
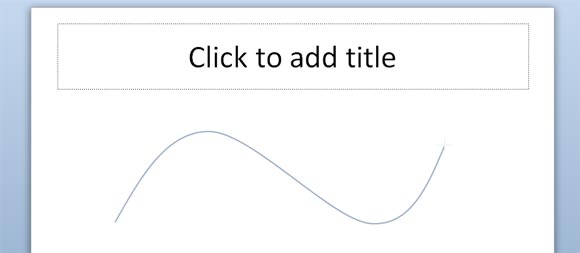
Normally you can access this functionality by inserting a Curve shape and then you can customize the bezier shape by editing the line or shape points. This can be done by selecting the shape that you want to edit and then right click and choose Edit Points. In PowerPoint you can create other kind of lines and curves, Bezier curves, freeform curves and scribble.
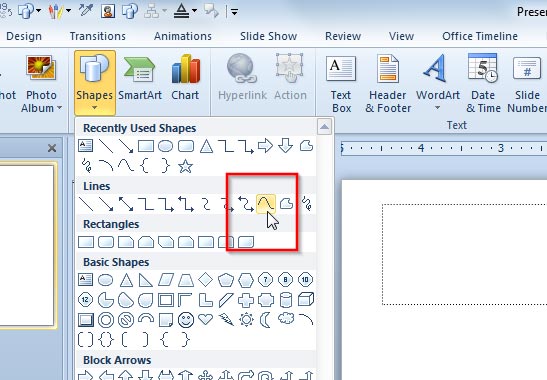
When you draw a Bezier curve in PowerPoint you tell PowerPoint where two or more points should be placed in the slide and then PowerPoint will create the curve between these points.
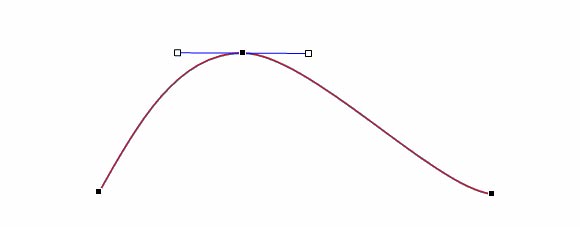
Here we can see a simple example showing a basic Bezier curve.
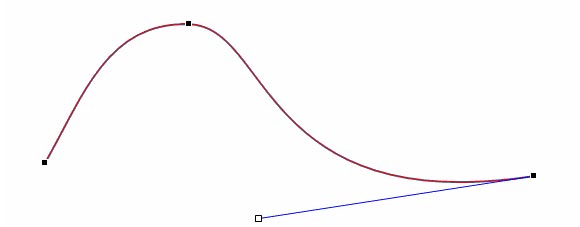
We can easily edit the points and specify the direction of the line by changing the points properties and vector.
It is important to notice that using this kind of curves in PowerPoint you can edit the points and add more vertex to the curve. Right click over the line and then click Add to add a point.
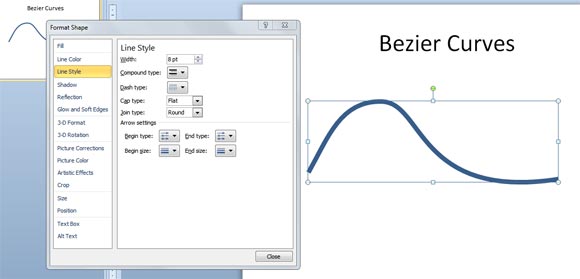
Bezier curves can also be customized. For example you can right click and select Format Shape to change the curve width or the color.
